Create Case Note Template
Users assigned with the Provider Setup administrative role will be able to create Case Note Templates, search Templates, and configure Templates.
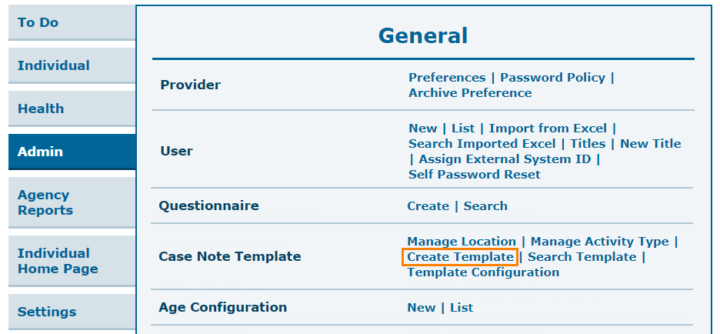
1. Click on the Create Template link beside the Case Note Template option from the Admin tab.
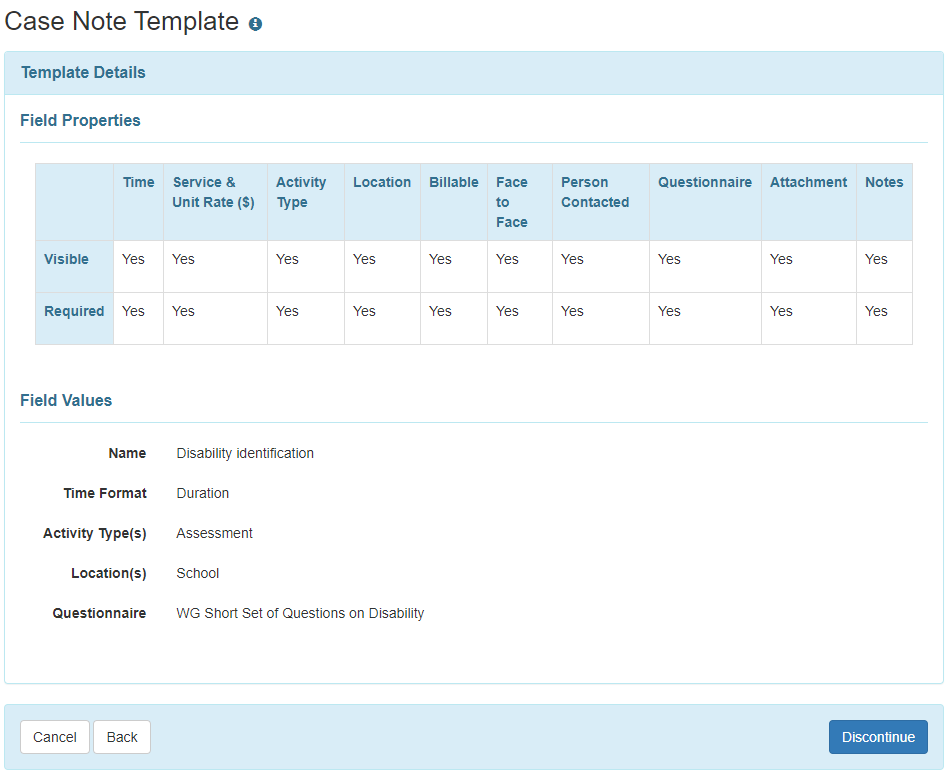
2. On the ‘Case Note Template page’, in the Field Properties section, select the check-boxes in the Visible row under the fields which you want to be displayed on the Case Notes created from this template. The fields can be made required by selecting the check-boxes in the Required row. The Visible check-boxes will be selected by default while creating a new template.

- Fields can be marked as Visible, or Visible and Required. If any field is marked as required but not as visible, then users will receive an error message while saving the template.

3. Enter a Name and select a Time Format for this template.
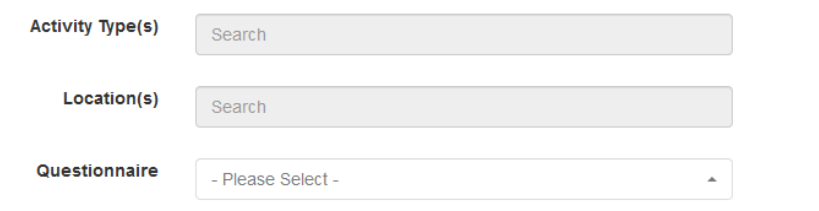
You can also select Location(s), Activity Types(s), and Questionnaire for the template if needed.
- Typing a few letters in the Location(s) and Activity Types(s) fields will display drop-down lists matching the Locations and Activity Types of the agency. (To learn how to create Location and Activity Types, click here). You may select multiple Locations and Activity types for a template.
- The drop-down list of Questionnaire fields will display the list of approved Questionnaires. Select your preferred Questionnaire. After you are done, click on the Save button to save the template.
Note: If users want to link a Questionnaire to the Case Note Template, then users will need to create the Questionnaire before creating the Case Note Template. For more information on creating Questionnaires, click here.

Note:
If the Location, Activity Type, and Questionnaire fields are marked as required but no value has been entered for these fields on the template, then users will receive error messages while saving the template.

- While creating a Case Note Template, if Activity Type, Location, and Questionnaire fields are not marked as visible, then users will not be able to select any options for these fields in the Template.
4. A warning message will be displayed after clicking on the Save button on a Case Note Template, stating that no changes can be made to the Case Note Template once it is saved. Click on the Yes button if you want to save the template, or click on the No button if you want to edit the template further.

A message will be displayed to confirm that the Case Note Template has been successfully created.

Note: Once saved, a Template cannot be further edited. It can only be discontinued by clicking on the Discontinue button at the bottom of the Template.