Create New Program
Programs are divided in an organization based on different activities or categories. Programs can be set up based on activities (Speech Therapy, Vocational Training etc.), according to shifts (Morning Shift, Day Shift) or classes (Class One, Class Two etc.). Each site needs to have at least one Program. Multiple Programs can be under one Site. An Individual (or Student) can be enrolled in one program or multiple Programs.
Users with the Provider Setup Agency Wide and Administrative Role have the privilege to create, update and delete programs.
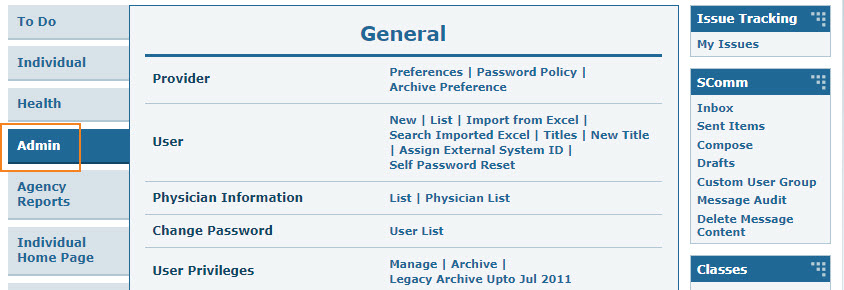
1. Click on the Admin tab from Dashboard.
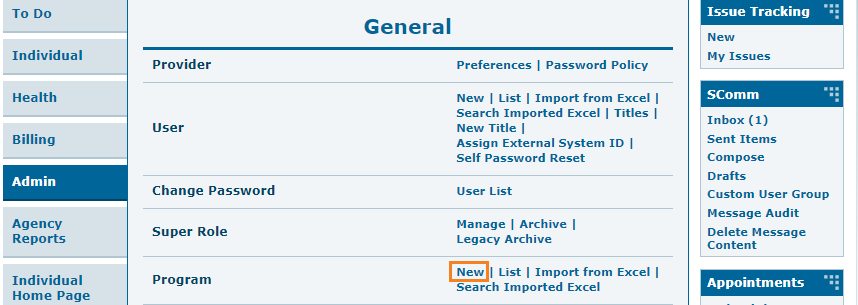
2. From the Admin tab, click on the New link beside Program.
3. Fill out the fields on the Create New Program page as necessary.
N:B: Fields with the red asterisks (*) are mandatory.
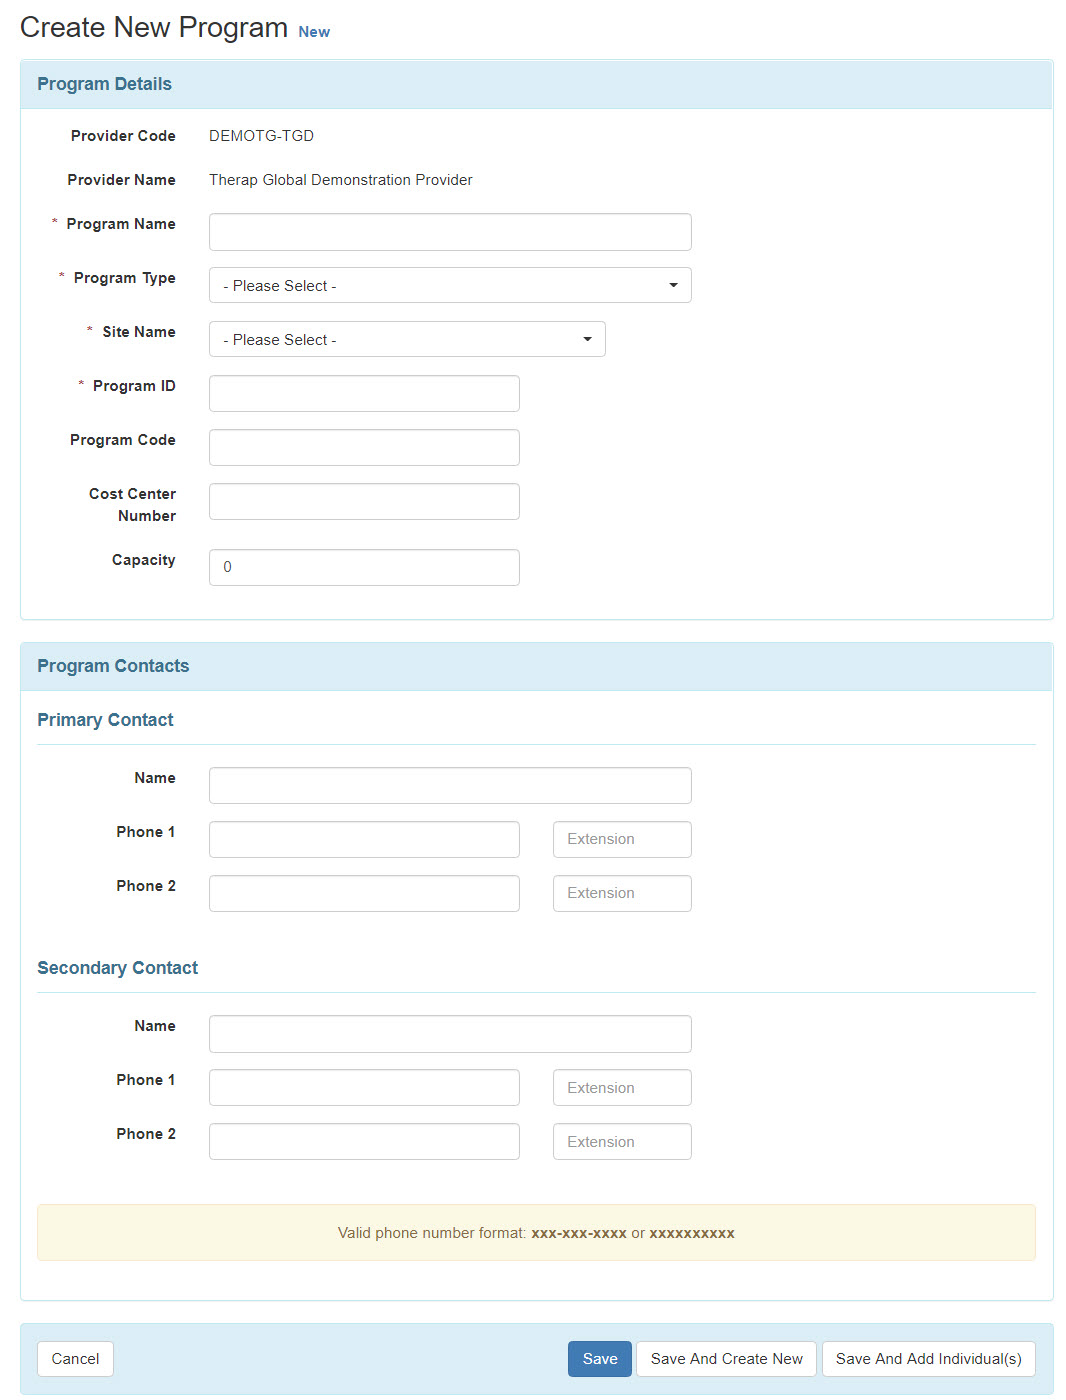
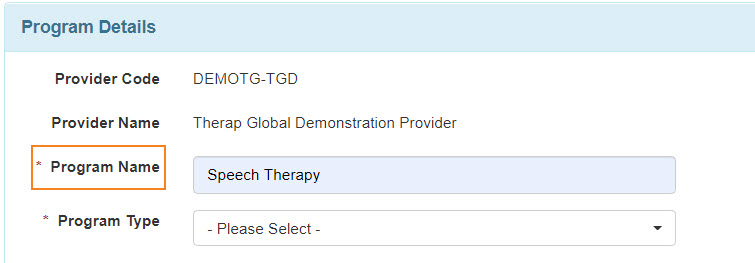
4. Enter the name of the Program in the Program Name field.
5. When filling out the Program Type field, you will find a large drop-down menu. Scroll through or search and find the program type that is closest to the work that you perform. There is also an “other” option you can use if you don’t find one that suits your needs.
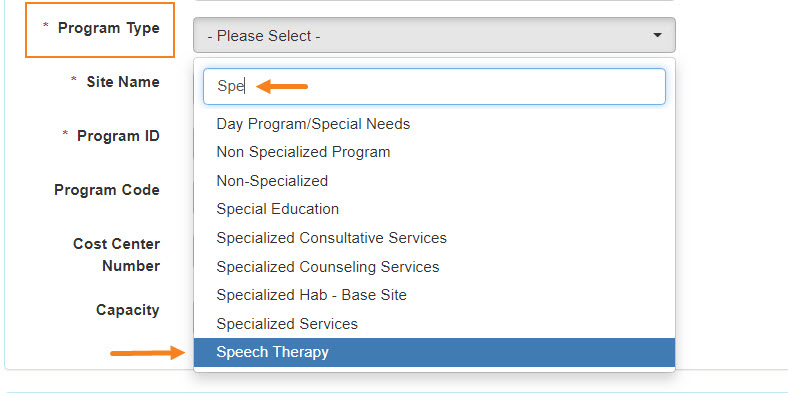
6. Select the appropriate Site (which is already created) from the drop down menu to link the program to that site within your Therap account.

7.The system requires a Program ID. This can be the same name as your program, an abbreviated name of your program, or another combination of letters and numbers if you prefer.
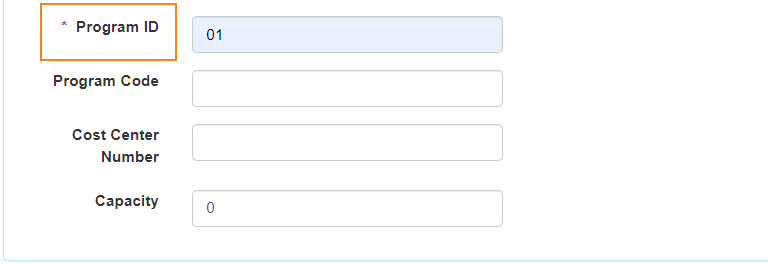
Note: Program Code, Cost Center Number, and Capacity are optional and you do not need to fill them out.
8.Primary Contact and Secondary Contact are both optional fields. If you complete these sections, the contact information for the persons entered will be displayed on the individual data form after an individual is enrolled into the program This information will also appear in other places and on various reports within the system.
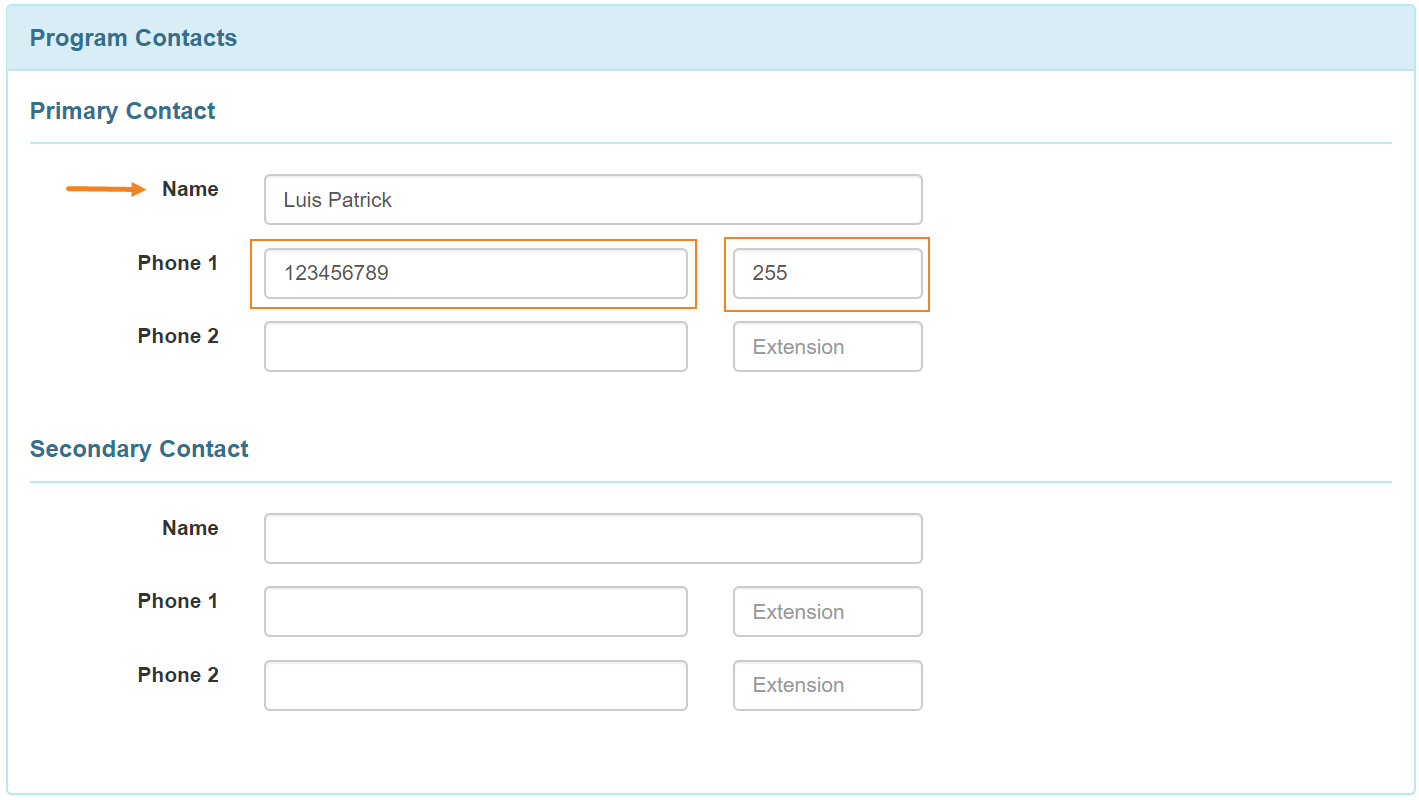
Note: For Phone, you should enter in your country code without the plus sign (For example: 255 in Tanzania) in the box on the right that says “Ext” and enter the rest of your phone number in the box on the left.

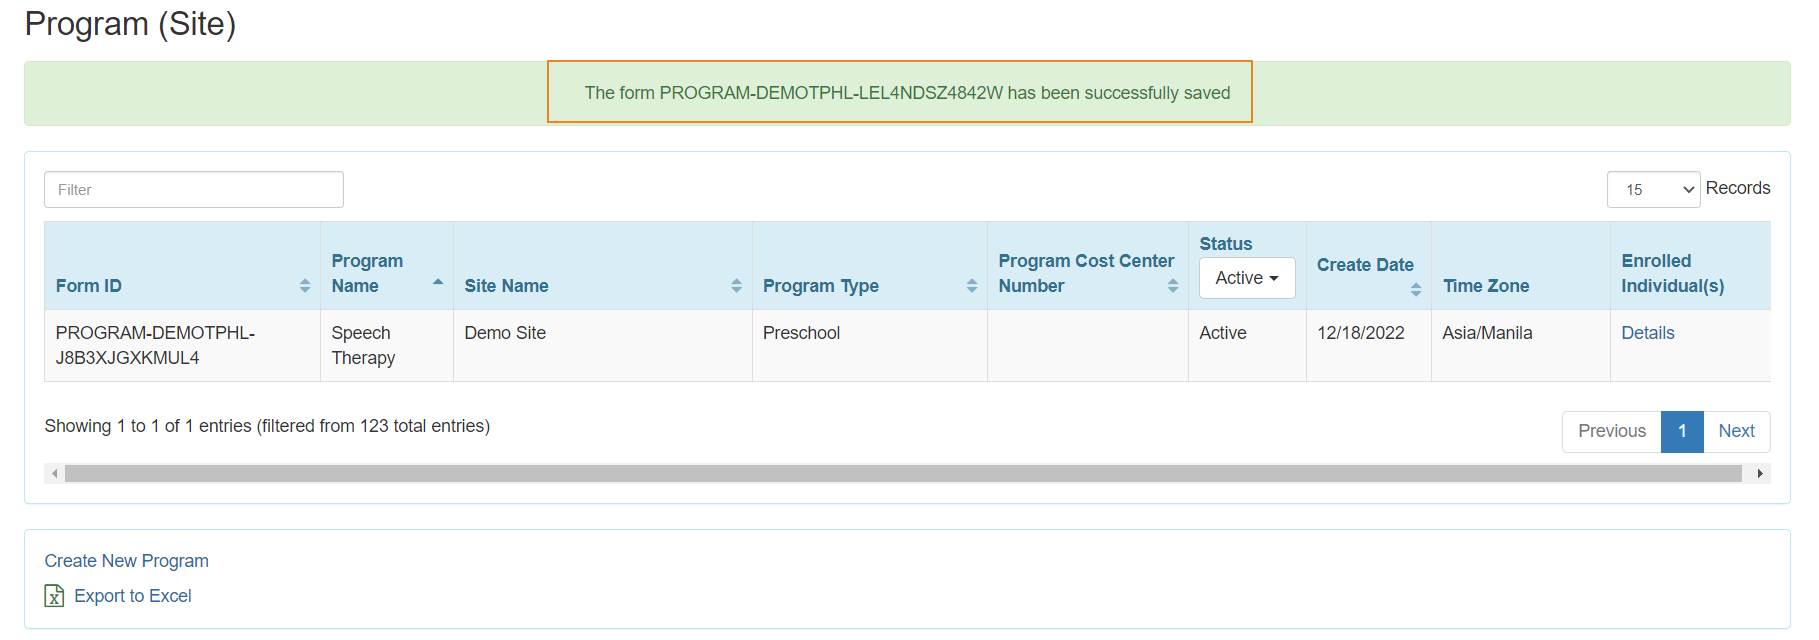
- Clicking on the Save button at the bottom of the page, will save the Program and take you to the ‘Program List’ page.
- Clicking on the Save And Create New button on this page, will take you to the page to create another Program.
- Clicking on the Cancel button cancels the operation.
- Clicking on the Save and Add Individual(s) button will take you to where you can enroll individuals into this program (as long as you have already entered your individuals (or students) into the system.
9. After clicking on Save button, a success message will be displayed.
