Compose SComm Message – General
The Secure Communications (SComm) module has been designed to facilitate the exchange of information among users in a secure way. Users can use the Secure Communications (SComm) module to communicate with a user or group of colleagues when they want to share information on administrative, personal or individual care related issues with others that also have a login for Therap.
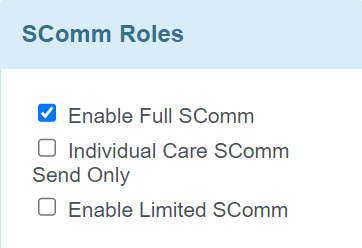
Users with the SComm Roles enabled from their User Privileges will be able to compose a General SComm Message from their account.
1. Click on the Compose link under the SComm section on the right side of the Dashboard.

2. From the ‘Message Type(s)’ window, click on the General option if the message is not specific to any Individual.
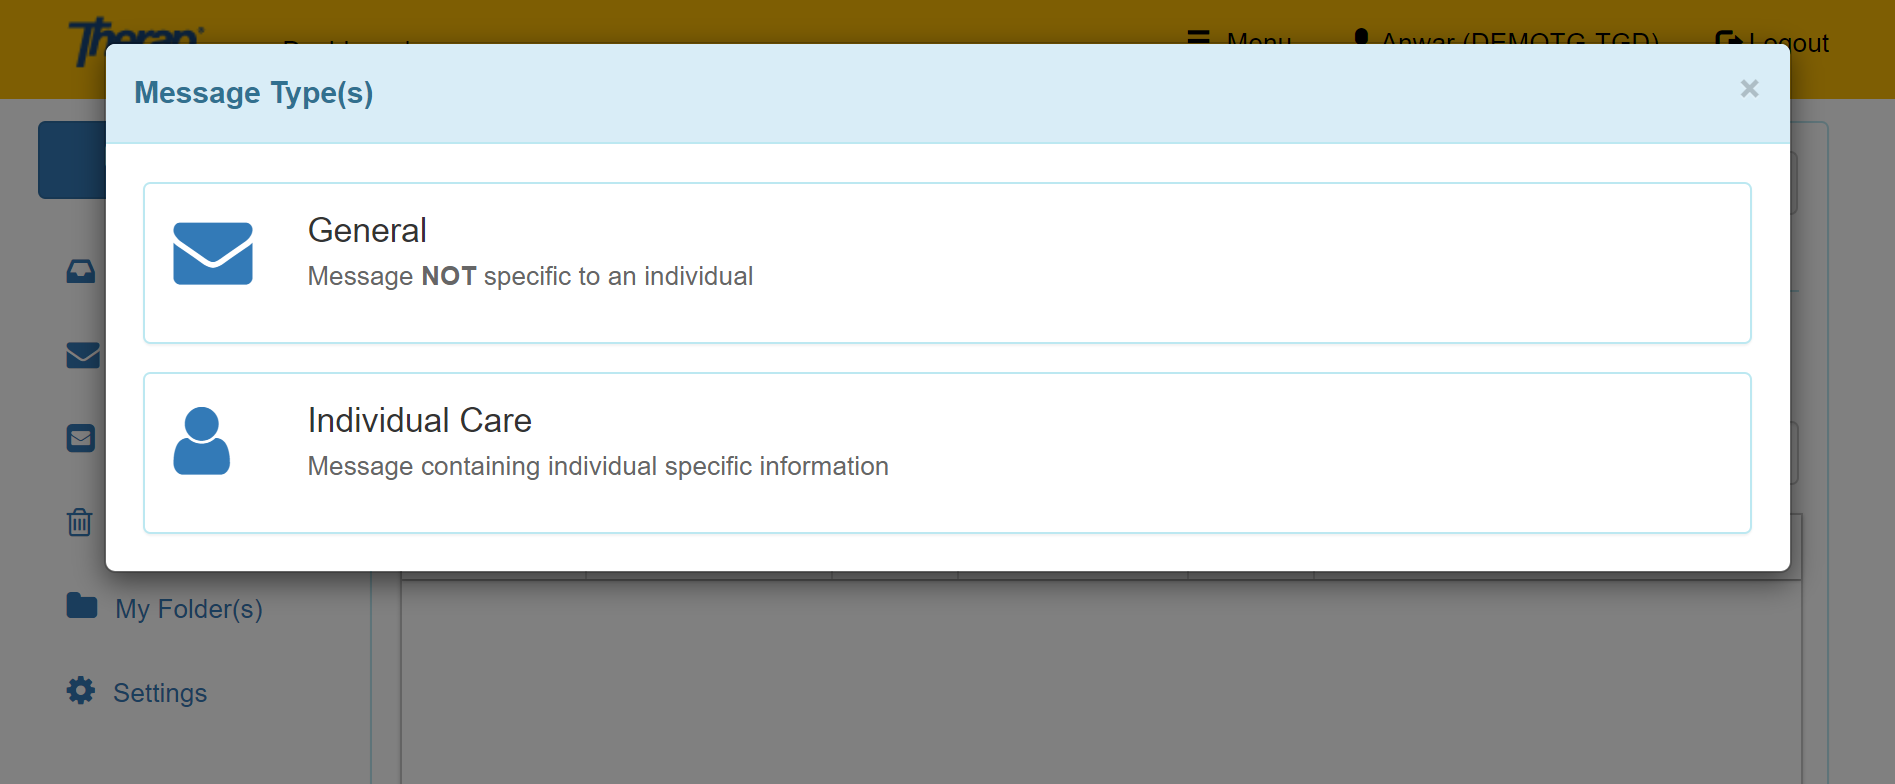
If you want to send a message specific to an individual, click on the Individual Care option. To know more about SComm for Individual Care click here.
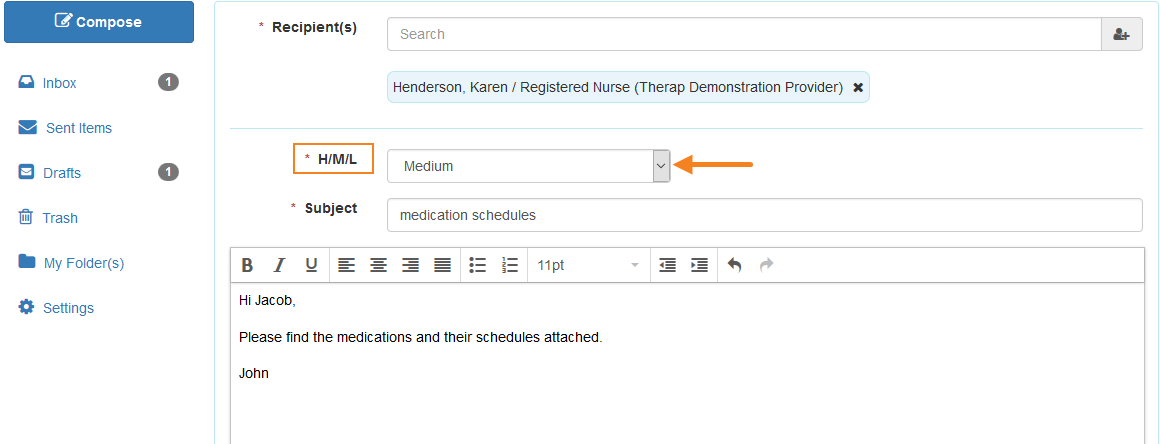
3. This will bring you to the Compose page, which includes these required fields: Recipient(s), H/M/L, and Subject.

4. Select the recipient(s) of the message by typing in the first few letters of the recipient’s name in the text area. This will display an auto complete list of recipients matching the letters entered. Click on a name to add to the recipient list.

You may also click on the Advanced Recipient Selection icon to automatically see a list of Therap users at your agency. To add users to the recipient list, click on their names or the check box, and then click on the Add Recipient(s) button.
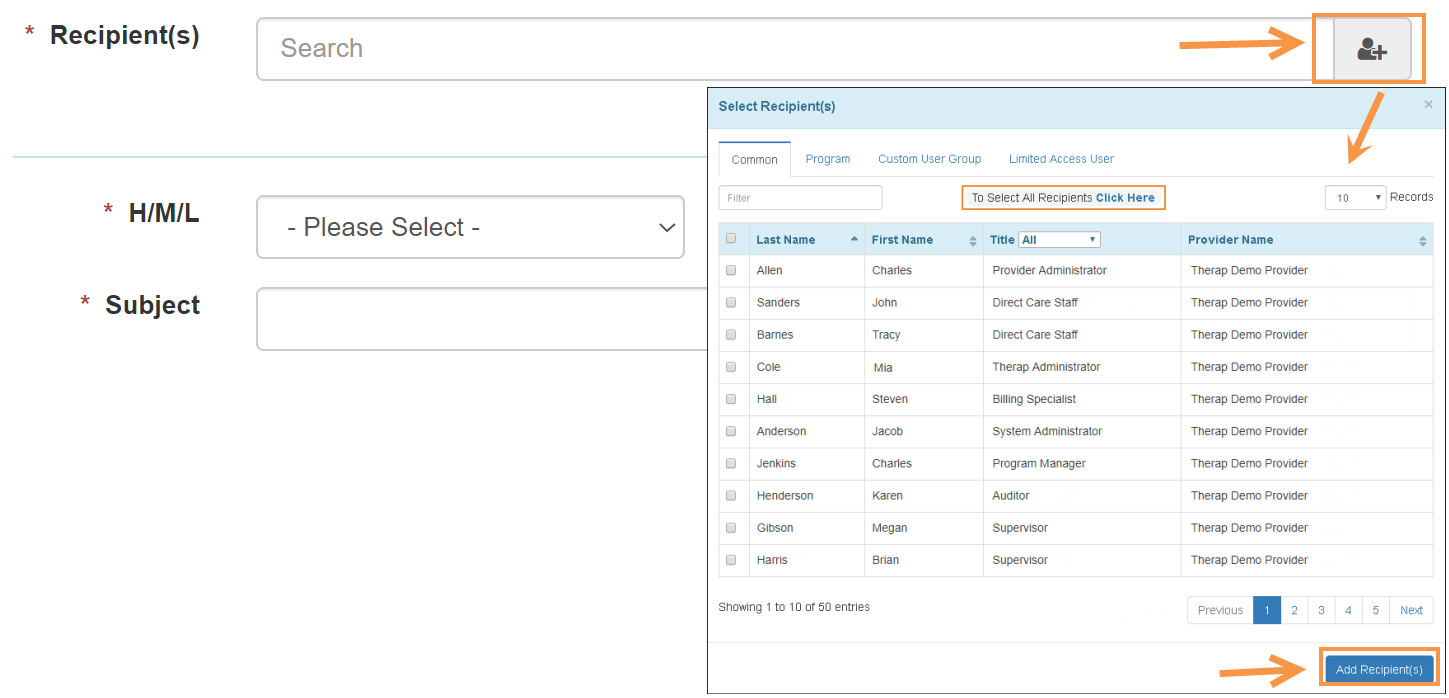
You may also search for recipients by typing their name in the Filter box or from the Title section.
*You may also choose multiple users from the list to send the SComm message to.
5. After selecting the recipient(s), select the Notification Level of High, Medium, or Low for the message from the H/M/L field, and enter a Subject and enter your message.
6. Under the optional, ‘File Attachment(s)’ section, you may upload any file by clicking on the Add File button to attach files from your computer. Once done, click on the Upload button.
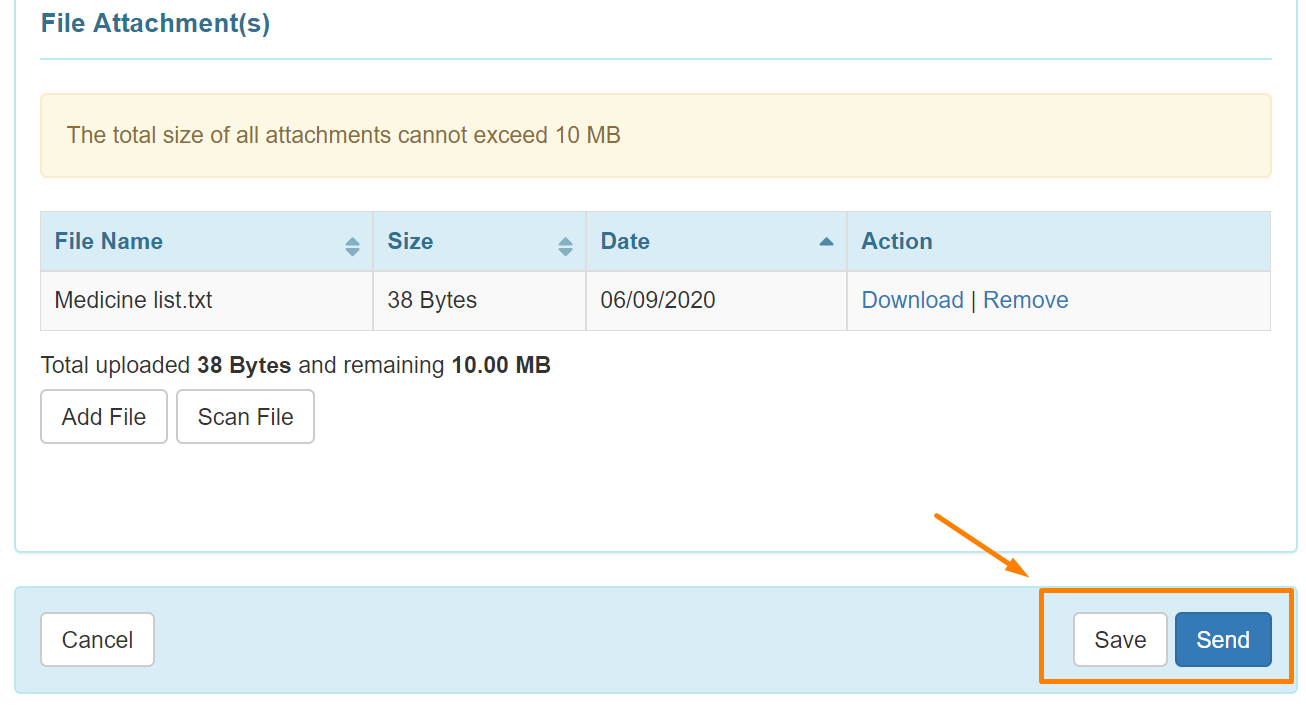
Click on the Send button to send the message and you should see a success message.

If you want to send the message later, click on the Save button and you should see this success message:

Your message will be saved as Draft in the Draft folder so you can finish it later.
If you do not get a success message, scroll up to look for any missing information on the page. This would be noted in red.
Complete the needed information and then try again.


