Create Case Note
Users with the Case Note Edit role will be able to save and submit Case Notes for individuals in Admitted and Pending Admission status.
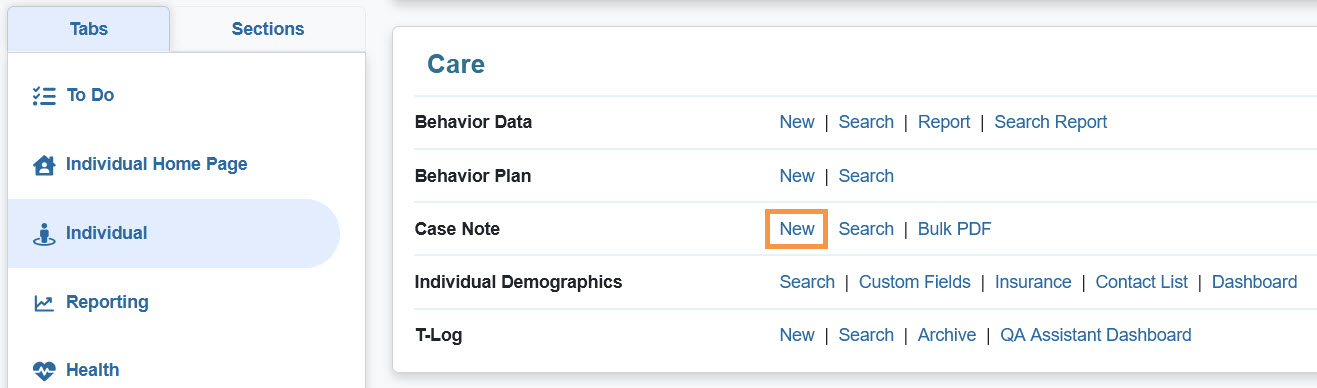
1. Click on the New link beside the Case Note option from the Individual tab.
2. On the next page, select the appropriate Individual from the Individual List to create a Case Note.

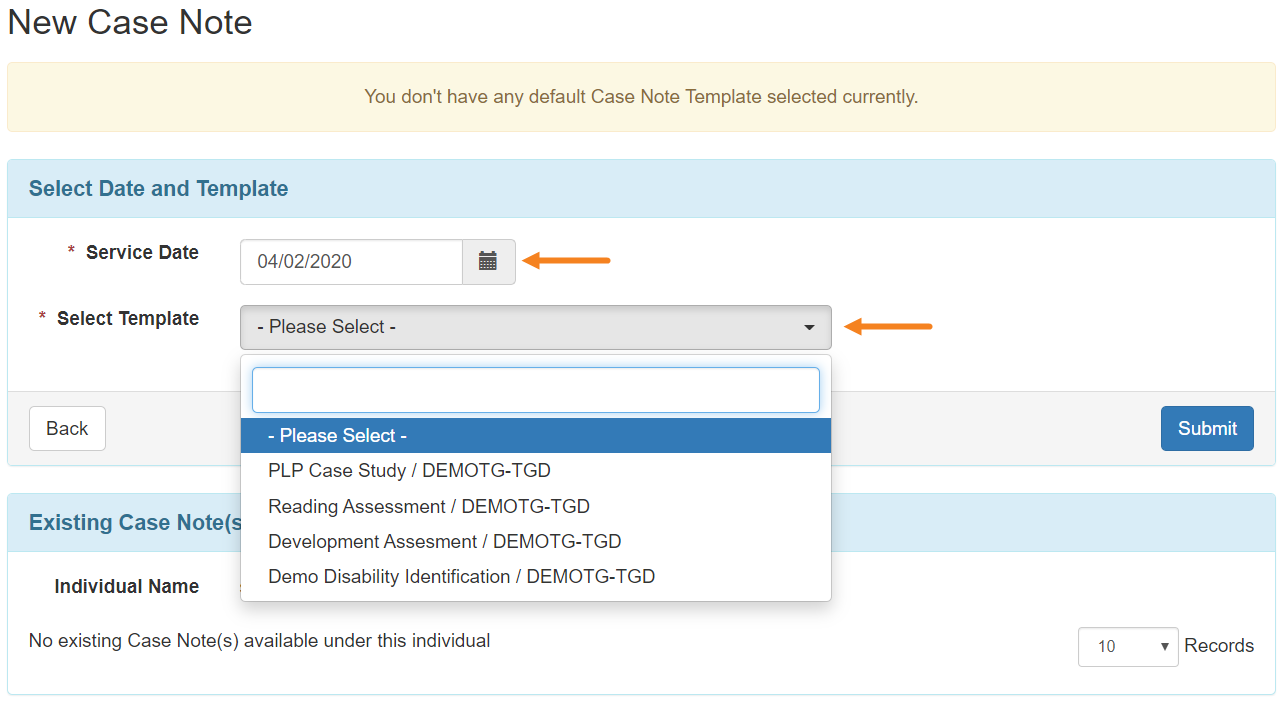
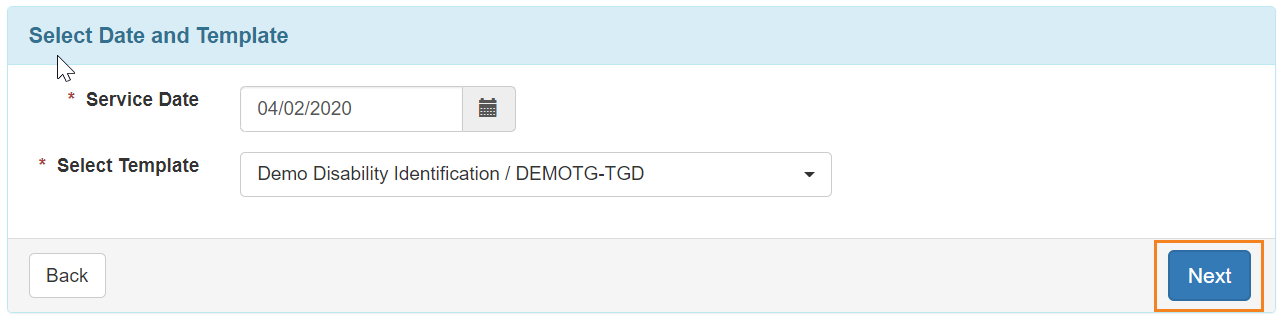
3. On the ‘New Case Note’ page, select the date for which you want to create a Case Note by clicking on the calendar icon beside the Service Date field. Select the template from the drop down list in the Select Template field.
4. Click on the Next button.
Note: The Templates which will be displayed in the Select Template field need to be selected from the Template Configuration option. For more information, click here.
You will be directed to the Case Note page for the individual.

In the Case Note Details section, fields such as Time From-To / Time Duration (Minutes), Activity Type, Location, and Questionnaire, Face to Face etc. will be populated from the Template (fields presented in this section are based on the ‘Field Properties’ selection at the time of creating a Case Note Template; to learn about it click here) .
Fields marked with red stars (asterisks) are required.

You may click on the Open button to answer questions of the attached Questionnaire. If the ‘Questionnaire’ section is marked with a red star (asterisk) then you need to complete the questionnaire in order to save the Case Note.
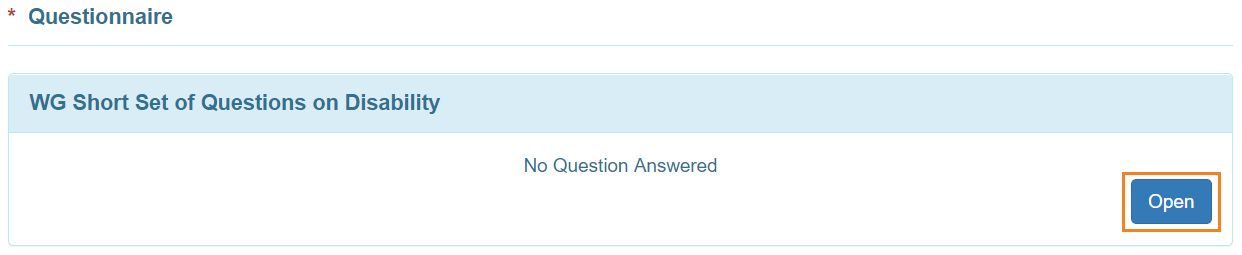
To learn how to answer the questions of a Questionnaire, click here.
You can attach files in the ‘Attachment(s)’ section provided that the size of each file is within 3 MB and the total size of the files is 10 MB or less. Files can be added from the user’s workstation.

You can add details or comments for the Case Note in the Note text box which has a limit of 30,000 characters.

5. After entering the necessary information, Click on the Submit button located at the bottom if you are finished with the case note. You may choose the Save button if you want to add additional information later.

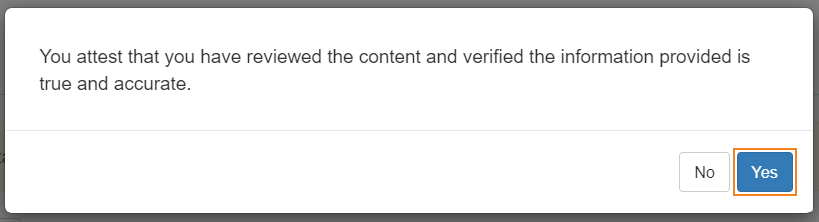
6. You will receive a warning message while submitting a Case Note stating: You attest that you have reviewed the content and verified the information provided is true and accurate. Click on the Yes button to submit the form.
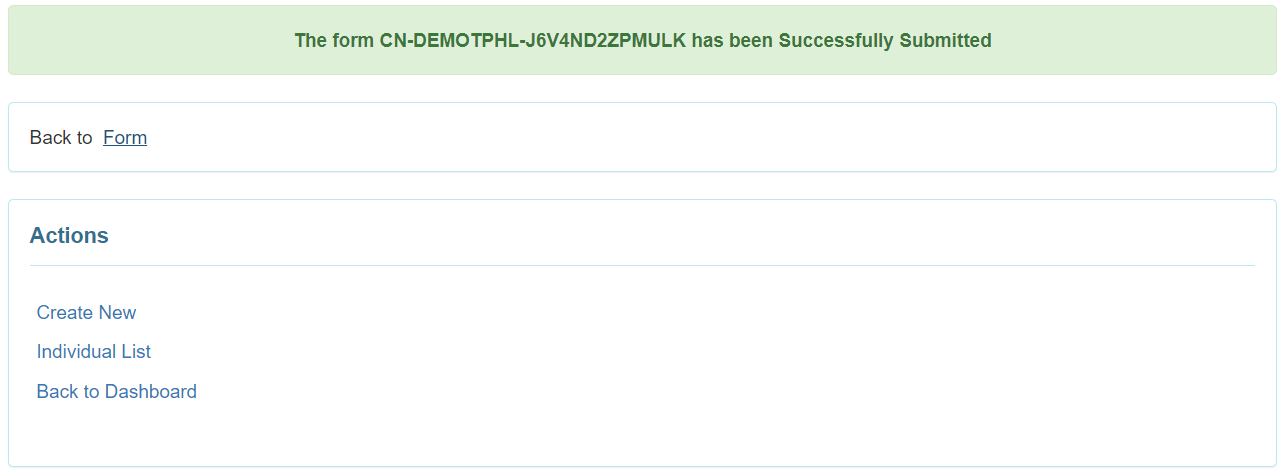
You will receive a confirmation message if the Case note has been successfully saved / submitted. You can choose to go back to the form, the Individual List, the Dashboard, or to create a new Case Note from this page by clicking on the respective links.