Create New T-Log
Users with the T-Log Entry role can create T-Logs.
1. Click on Individual tab from HomePage

2. Click on the New link beside T-Log

3. Select a Program from the Select Program For T-Log page

4. Click on the Name of the Individual for whom the T-Log will be created.

After selecting an individual T-Log Page will appear.

5.
- Select the Type of T-Log by clicking on the checkbox. Multiple checkboxes can be selected, but it is required that you select at least one. The T-log type can be helpful in future searches.
- Select the appropriate Notification Level of High, Medium, or Low based on the importance of the information.

6.
- Enter a brief summary or headline for the T-Log in the Summary field.
- Write the main content of the T-Log in the Description field.

7. Click on the clock icon beside the Time in and Time out sections to mention the time range of the information. (The Time In/Time Out feature is optional, and can be enabled from the T-Log section within Provider “Preferences” available on the admin tab.)

8. The T-log module has several optional fields and features that you may choose to complete:
- The system automatically includes the user’s name as the creator of the T-Log. You can type the name of the reporter in the Reporter section if the information is reported by any other user.
- The system automatically records the date that you complete the T-log but you may Click on the Calendar icon beside Reported on section to select the date of the report.
The system automatically records the time you complete the T-log, but you may Click on the Clock icon below the calendar to select time of the report.

9. You also have the optional features to add a document or photo to the T-log.
- You may Click on the Add File or Scan File button beside Document Attachment to attach a file.
- You may Click on the Add Image button beside Photo to attach a picture.

N: B: Maximum size of file and photo should be 3 mb.
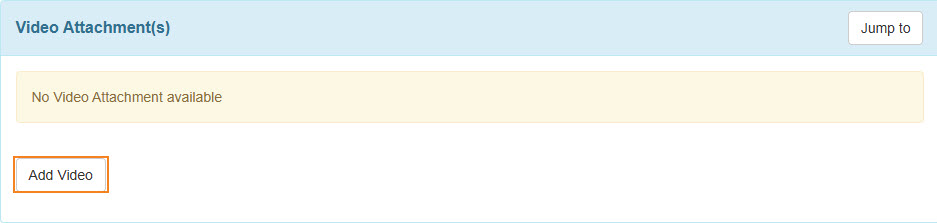
10. Users with Video Upload Super role have access to this feature. Users without the required privileges may contact the provider admin of the agency to update their profiles.
- In the Video Attachment section, click on Add Video.
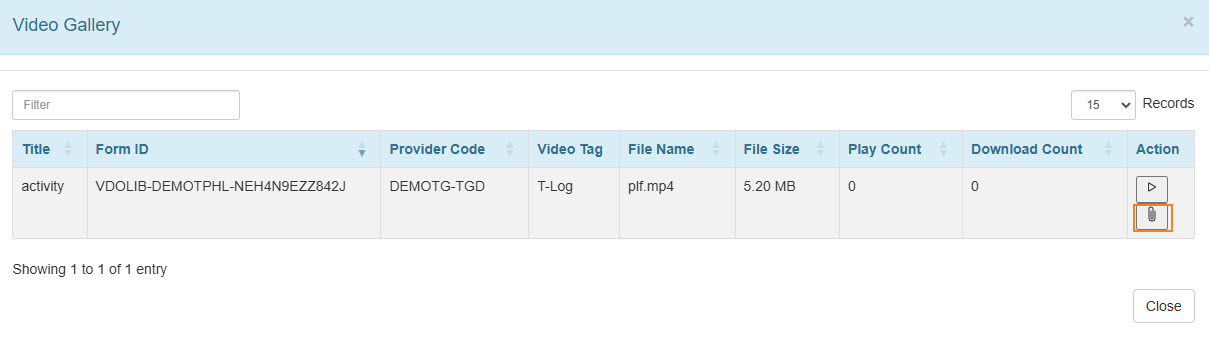
NB. To add video in the Video Attachment section users will have to upload the video for this individual under the Form Tag of T-Log in the Video Library.
- Click on the attachment pin sign to attach the video.
11. If all the necessary fields are filled up, click on the Submit button at the bottom right corner of the form.

12. After clicking on the submit button, a success message will be displayed.
