Provider Preference
Users with Provider Setup Administrative Role can configure the below settings,
To access the Provider Preference page, click on the Preferences link next to the Provider option on the Admin tab.

Set Session Timeout
Users will be able to select the minutes from the Session Timeout (Minutes) drop-down field under the ‘Session Timeout (Minutes)’ section. This session timeout value can range from 15 minutes to 60 minutes, and will be applied to the users’ accounts across the organization.
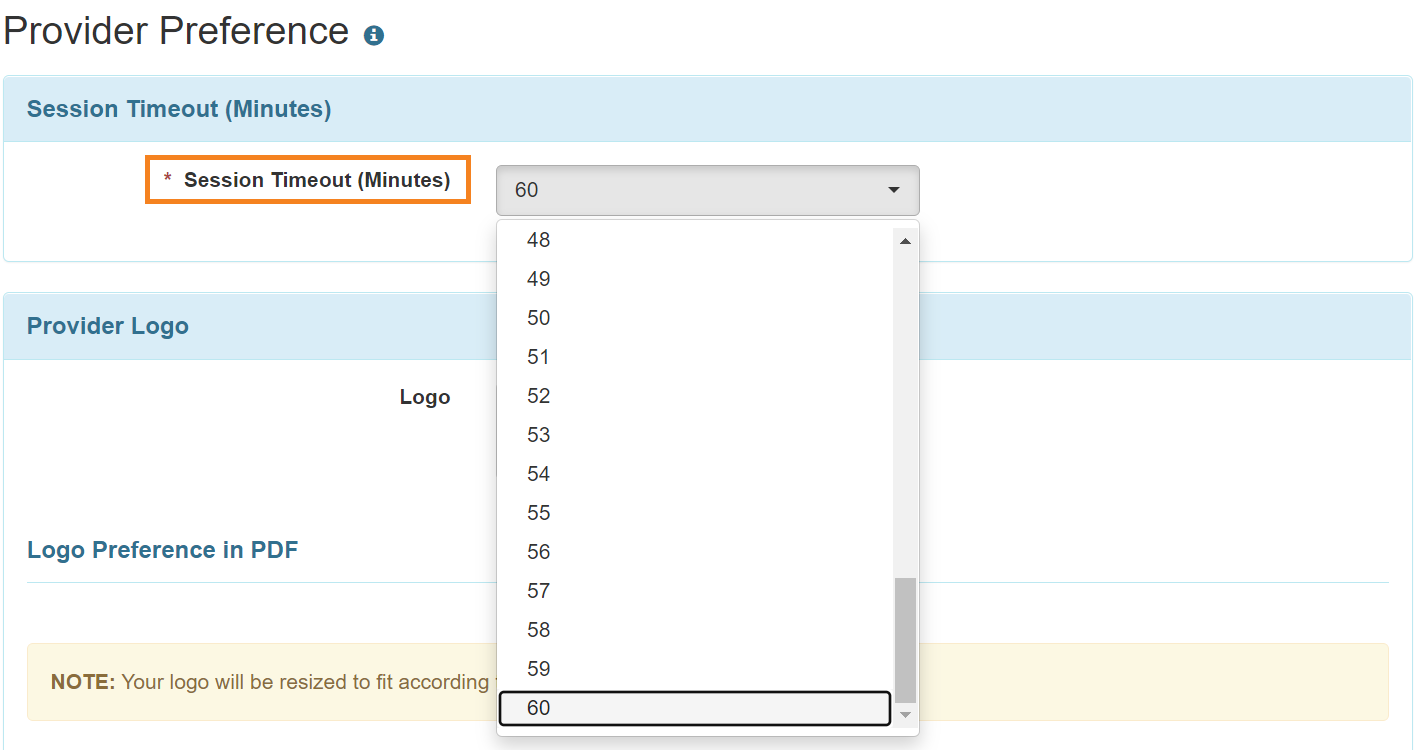
The session timeout for the Therap iOS mobile application is 10 minutes, and for the Android mobile application is 30 minutes. The mobile application’s session timeout duration cannot be changed, and is unaffected by the session timeout set by the agency for the web application.
Provider Logo
1. Click on the Add Image link under the Provider Logo section to select the logo.
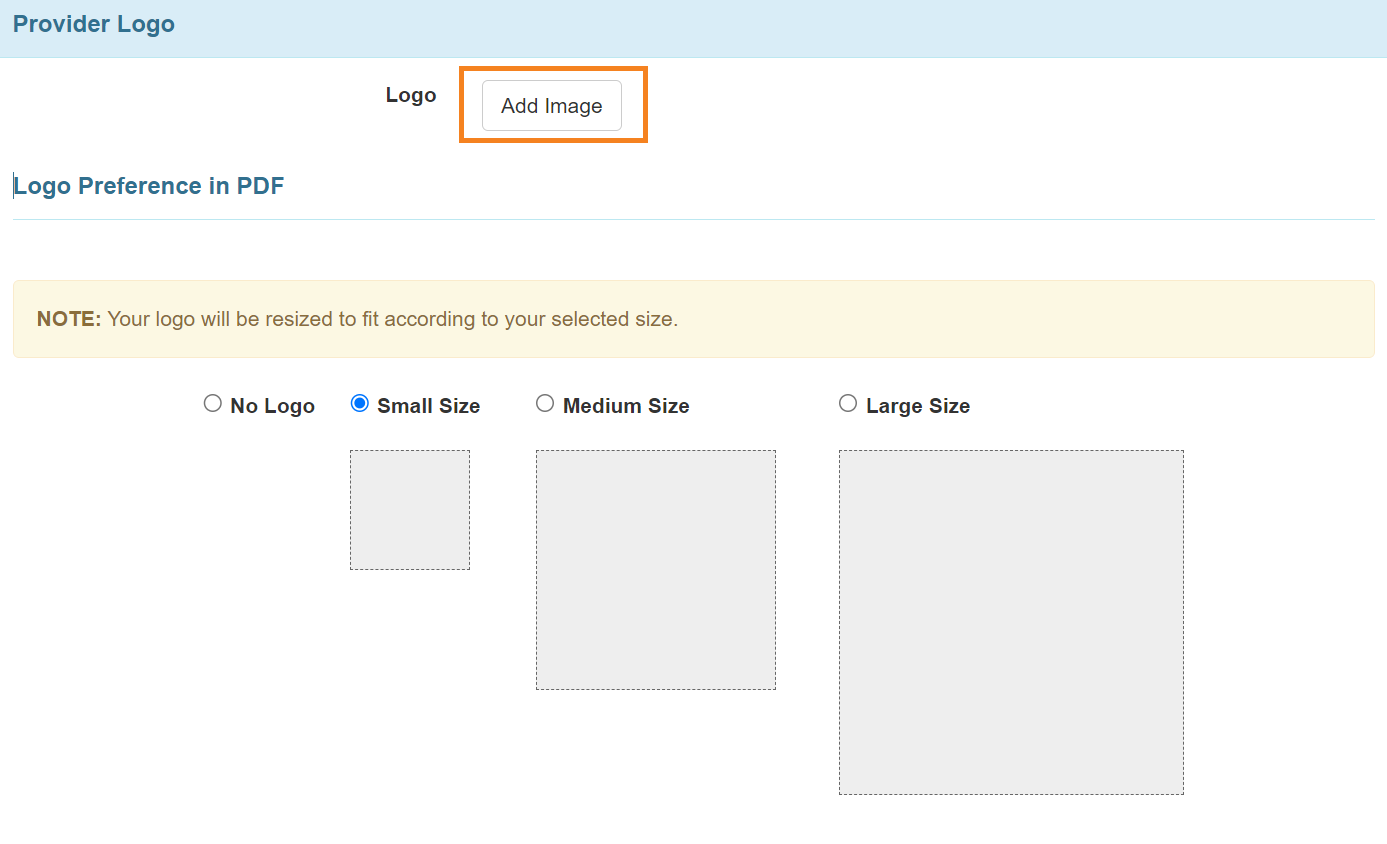
Maximum file size limit is 3 MB.
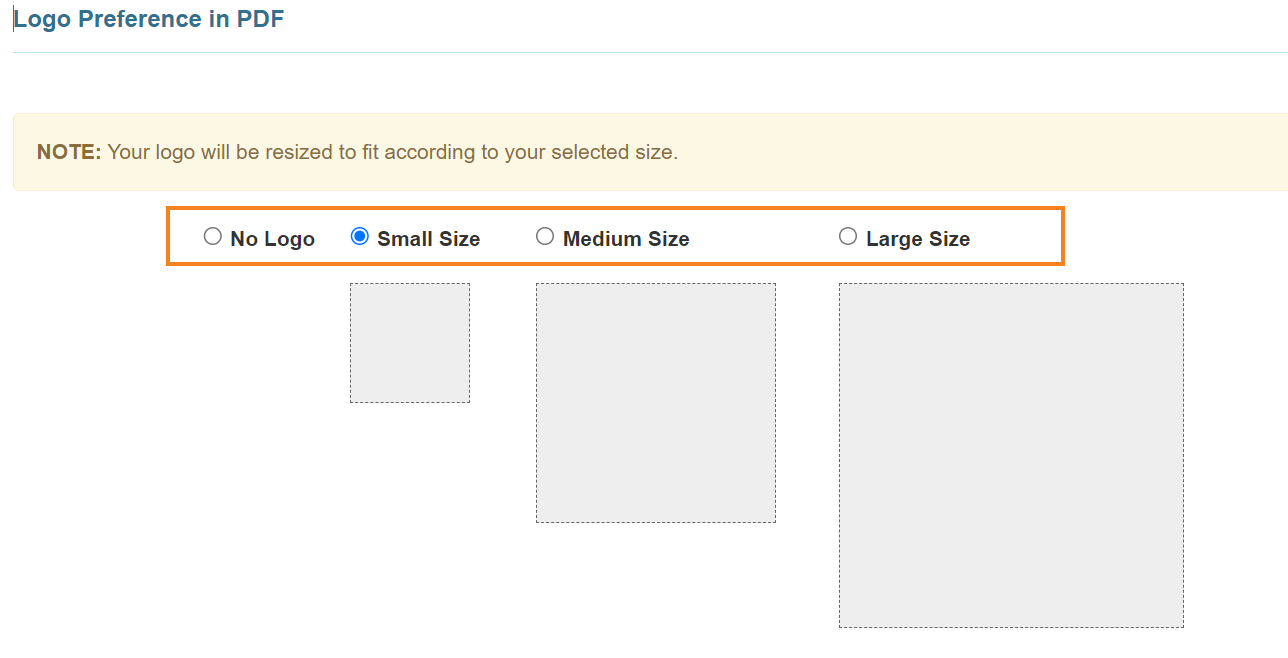
2. Under the ‘Logo Preference in PDF‘ section, choose the size of the logo that you want to be displayed. The sizes are Small Size, Medium Size, and Large Size, whose dimensions are 80×80 pixels, 160×160 pixels, 230×230 pixels, respectively. You can also select the No Logo option.
Calendar Preference
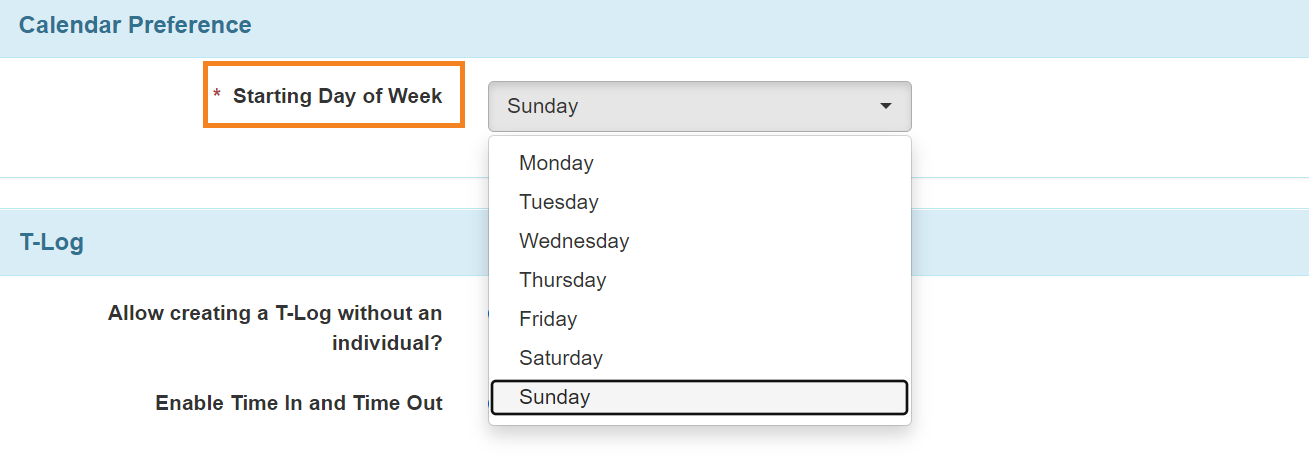
In the Calendar Preference section on the ‘Provider Preference’ page, you may select any day of the week from the Starting Day of Week drop down field.
Set T-Log Preference
Users are able to set T-Log preferences such as allowing to create T-Logs without Individuals and enabling the Time-in Time-out option for T-Logs.
In the T-Log section on the Provider Preference page, select the Yes option for the Allow creating a T-Log without an Individual? field if you want to allow creating T-Logs without individuals. You may also enable the Time-in Time-out option for T-Logs by selecting the Yes option for the Enable Time-In and Time-out field.

PDF Preference
In the PDF Preference section, you may check the option(s) which you want to be displayed in generated PDFs.

Set GER Preferences
In the GER Preferences section, you have the option to make the Witness section on the GERs visible or hidden. You may select the Yes or No radio button for the Hide Witness Section field as appropriate based on your needs.

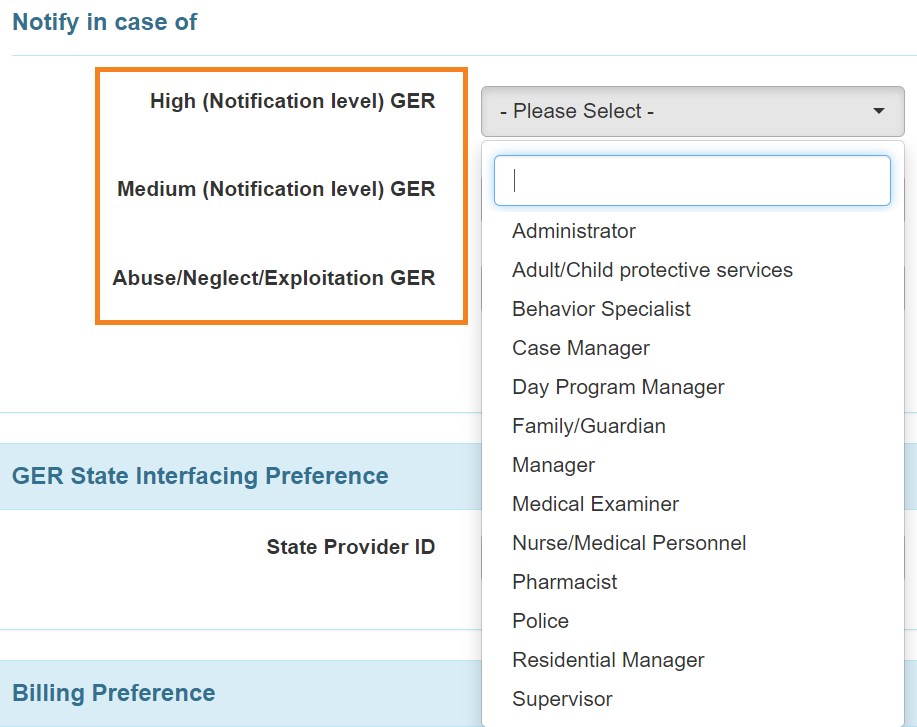
For GER Notifications, you will be able to select the entities to whom the Notifications should be sent for Medium, High, and Abuse/Neglect/Exploitation GERs. You can select/deselect multiple entities by clicking on the option and pressing down on the ‘Ctrl’ key on the keyboard, simultaneously.
Set User Profile Preference
On the User Profile Settings section, the following checkbox will be available:
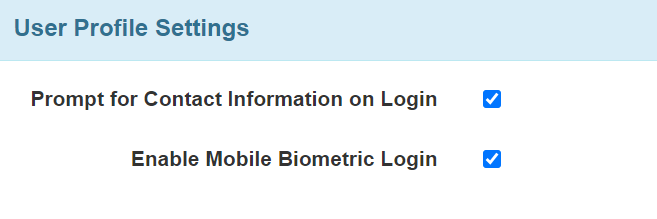
Prompt for Contact Information on Login: When the Prompt for Contact Information on Login checkbox is enabled, users will be taken to their ‘Personal Details’ page upon login to enter their Contact Information if it has not been entered already. Users may enter their Address, either one of the Phone Numbers, E-mail Address, and then click on the Update button to proceed. Clicking on the Cancel button will direct users to their Dashboard. However, they will be prompted to their ‘Personal Details’ page on next login until the necessary information is entered.
Super Admin users with incomplete Contact Information will always receive this prompt even if the Prompt for Contact Information on Login checkbox is not enabled for the provider.
After completing the needed configurations, click on the Save button at the bottom of the Provider Preference page.


