Create New User
Any staff member at your organization that will be documenting information with the Therap software must have a user account in the Therap system. Administrators with the User Administrator Role will be able to create a new user account for other staff members.
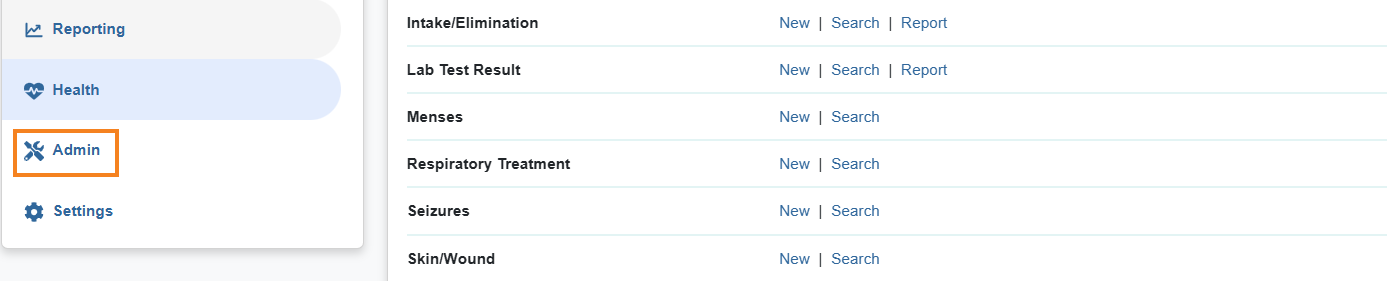
1. Click on the Admin tab.
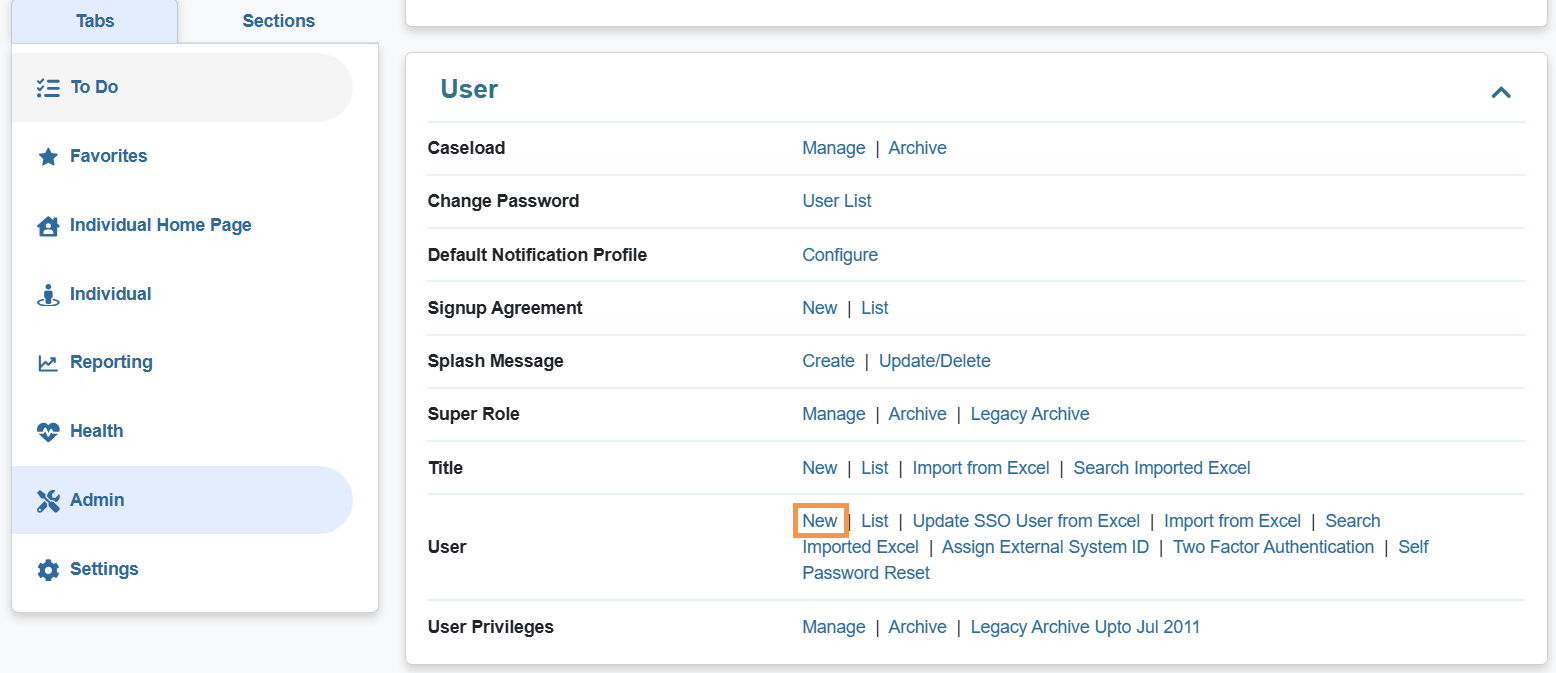
2. Click on New beside User.
3. Create New User page will come up. In the User Information section, enter the necessary details of the user.
Fields mark with a Red Asterisk (*) must be filled in. That means First Name, Last Name, User Initials, Time Zone fields can’t be empty.

4. The User Initials field requires at least two letters or numbers. Initials may consist of 2 or 3 characters.
Note: Each set of initials can only be used once within the account. Users may select the First Name’s first letter and the Last Name’s first letter as a User Initials.
By clicking on the search icon beside the User Initials field, available initials can be checked. The system will then display whether the User Initials are available, and suggest similar initials which can be chosen for this field.
If the initials are available for use, the message will be green and indicate that set of initials is available. If those initials have already been used, there will be a yellow banner that states those set of initials are not available.

5. In the Authentication Configuration section, Fill up the necessary fields: Login Name, Password, Confirm Password.

Note: The Password must be at least 8 characters long.
6. In the Account Settings option, the status will be marked as Active, and you would want to keep it that way to allow the user to access the account once it is set up.

7. Under the Employer/Work Information section select the title of the new user.
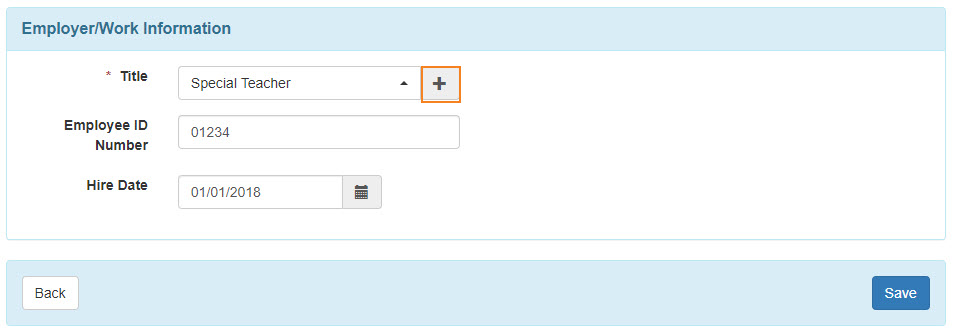
If the title is not there, click on the add icon (+) to add it. On the Create New Title page enter the title. The Description field is optional.

When finished, click on the Save button. Once you have entered the title here, it will then appear on the drop-down list of titles for future use.
8. After entering information in the Create New User page, click on the Save button.

9. On the Personal Information page enter information as appropriate.
Under the Basic Information Section, Photo, Gender, Date of Birth may be entered. While User Name, User Status, and Title will be autofilled from the information updated in the previous page.

Under the Contact Information section, Address, Phone Number, Phone Number Comments, E-Mail Address may be entered.

In the Preferences section, Time Zone must be selected from the dropdown.

In the Additional Contact Information section, Employer/Work Information, Emergency Contact 1, Emergency Contact 2 may be entered.

Enter the fields under the EVV section if applicable for the organization.

Once the account is set up, users can also enter this information for themselves from the settings tab.
10. After entering the necessary information of the user click on the Save button

11. After clicking on the Save button a success message will be displayed.

Users may click on the Go to User Privilege link to assign or unassign the Super Admin Administrative Role, Caseload, Super Role, Agency Wide Administrative Roles and other privileges from the User Privilege page.
To learn more about Agency Wide and Administrative Roles click here.
To learn more about creating Super Roles click here
To learn more about creating Caseloads click here