Individual Intake – Admit and Program Enrollment
Users assigned with the IDF Admin Administrative Role will be able to enter individuals into the Therap system. Users with the IDF Admin Administrative Role or the Individual Admit/Discharge caseload-based role will be able to admit individuals into the system.
Entering Individuals into Therap System
1. On the Admin tab, click on the New link beside Individual Intake under the Care section.

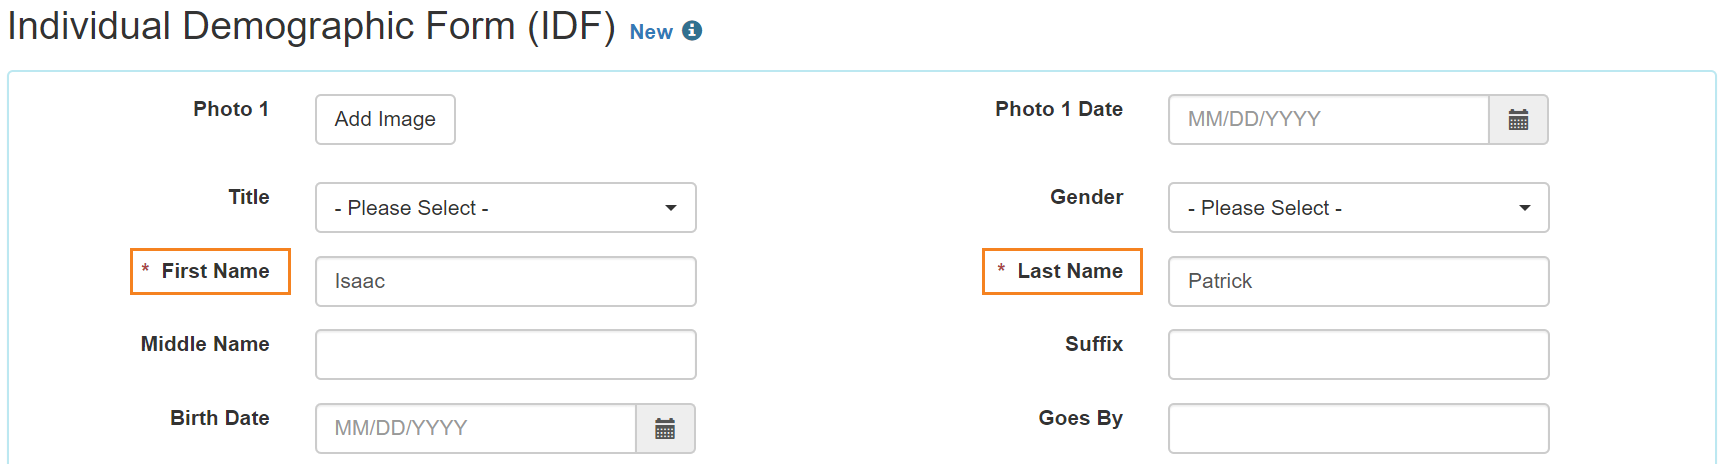
Individual Demographic Form (IDF) will be opened. It is to note that The Individual Data form (IDF) has been renamed to the Individual Demographic Form (IDF) and updated with a new interface.
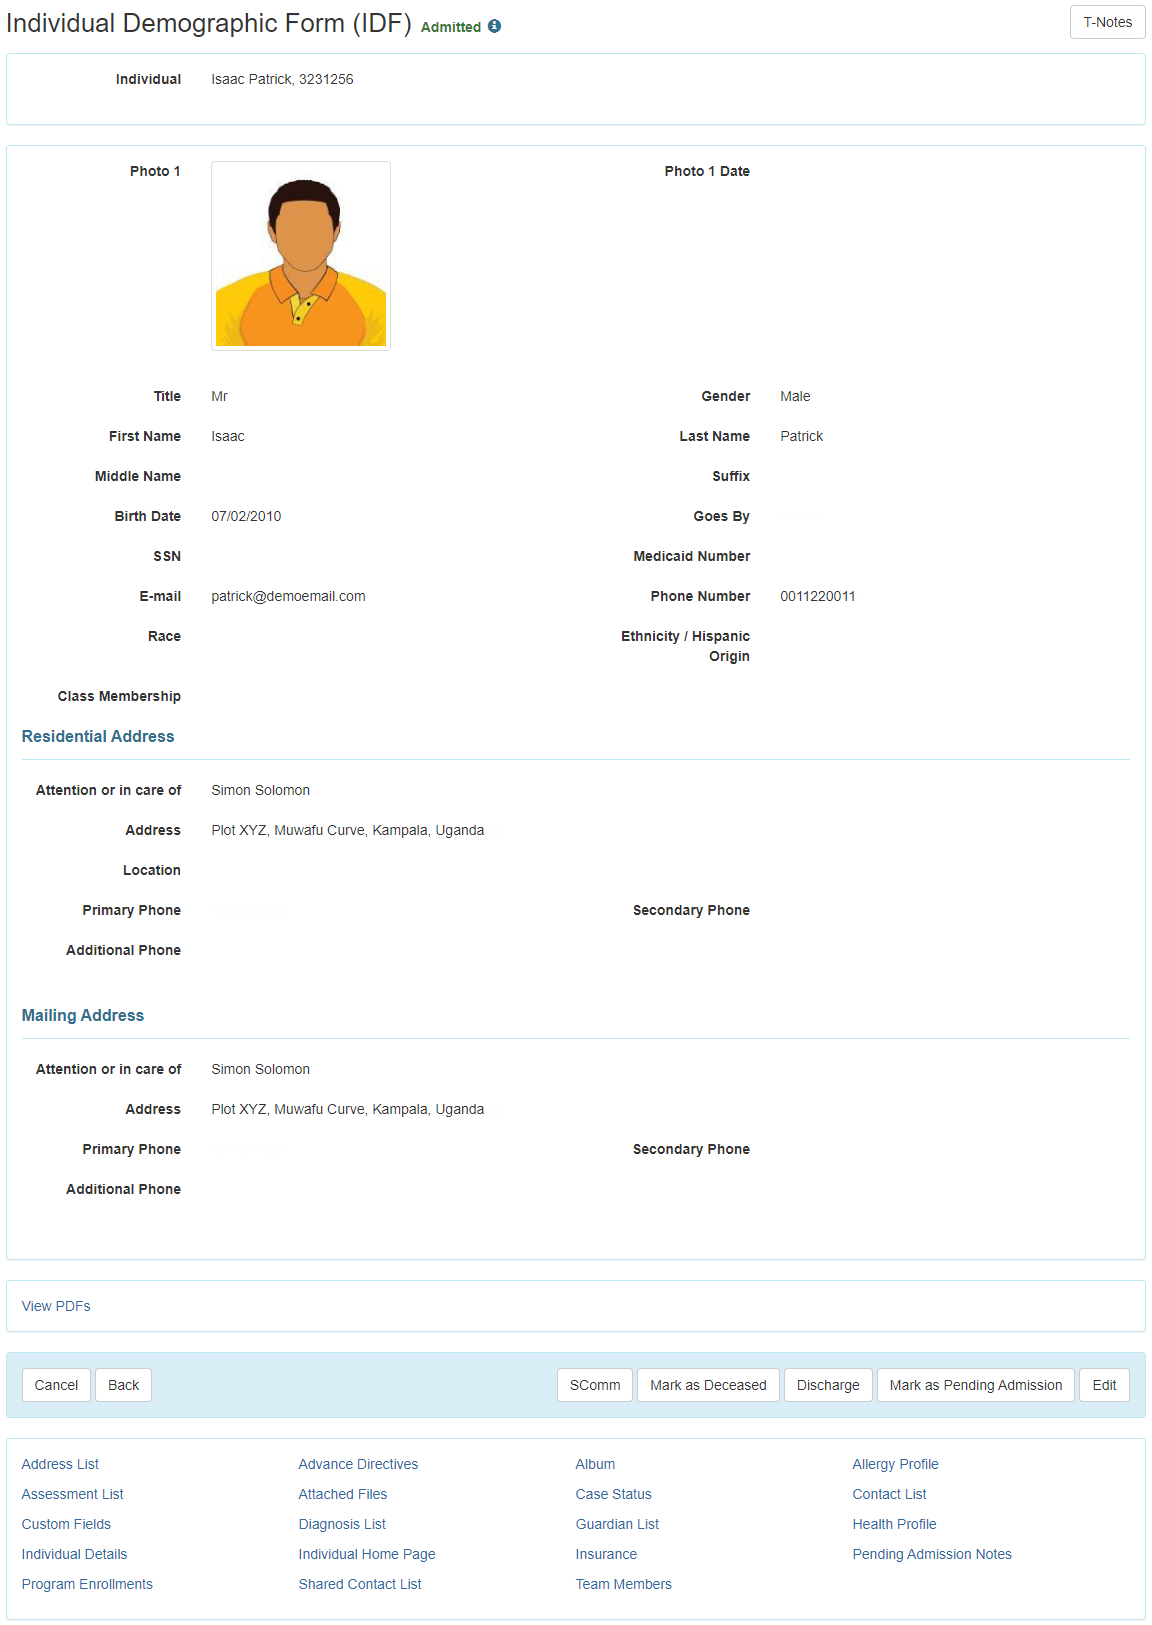
Individual Demographic Form (IDF) includes fields for the individual’s basic demographic information, individual’s Photo, oversight information, residential address and mailing address. Each section of the IDF now has its own page. Users will be able to navigate to each IDF section by using the links at the bottom of the form. Information added in the IDF can be updated according to the needs of your agency.
2. Enter the individual’s First Name and Last Name.
Note:
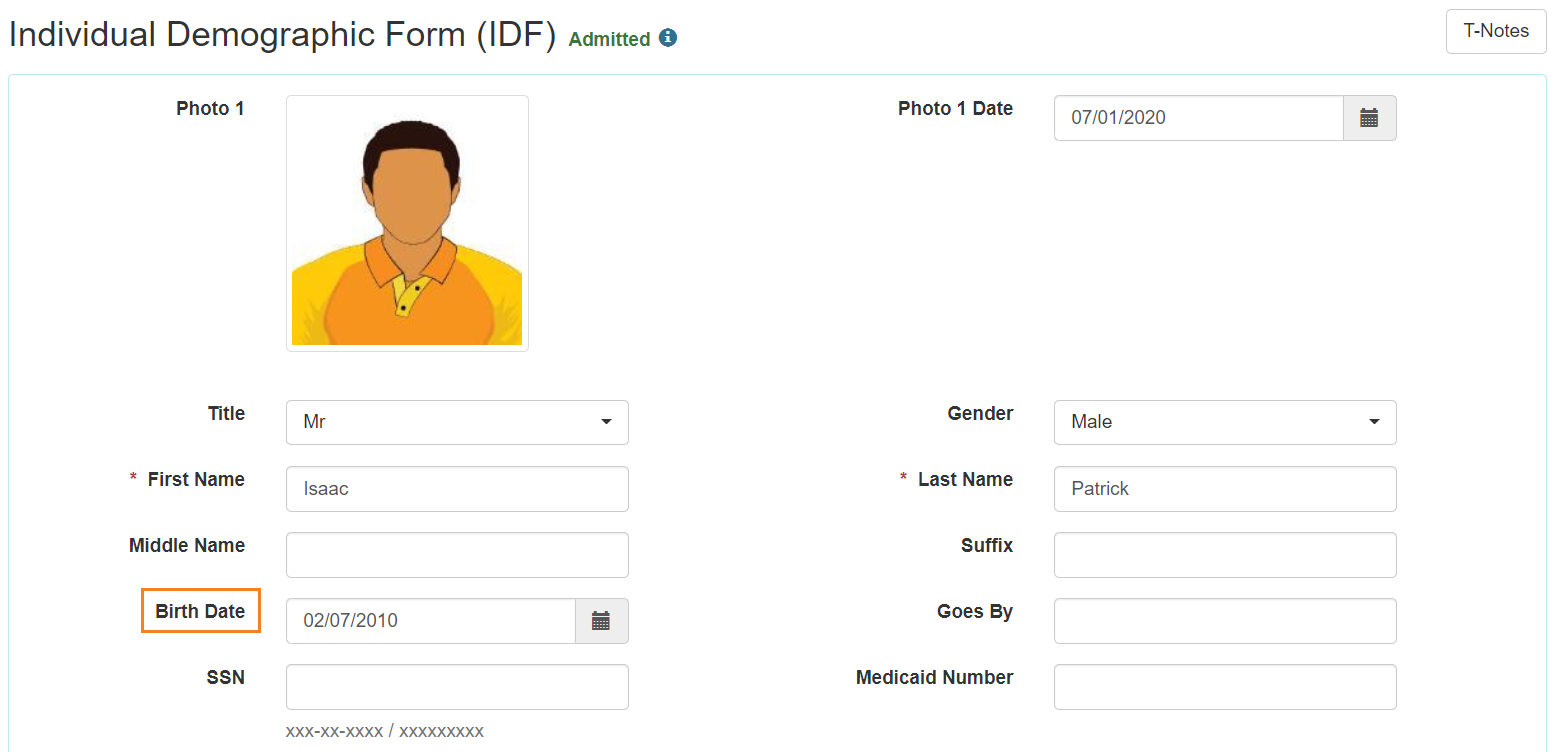
- Photo 1 & Photo 1 Date fields are optional. If you want to add a photo, click on the ‘Add Image’ to add the photo of the individual. You may also add the date that you uploaded the photo if you would like to.
- Title and Gender are optional fields; to select these click on the ‘Please Select’ of the respective fields. Selecting the gender of the individual will show in future reports.
- Middle name and Suffix are optional fields and not required.
3. Select the Birth Date of the individual. While Birth Date is optional, it is highly suggested to improve the quality of information about the individual, and will show up in future reports if filled out.
Note: The calendar field takes the format of Month/Date/Year. Many countries do not use this style of recording the day. Users can type in Month/Date/Year for the date or can click on the calendar icon to find the correct date (as shown below)

Note:
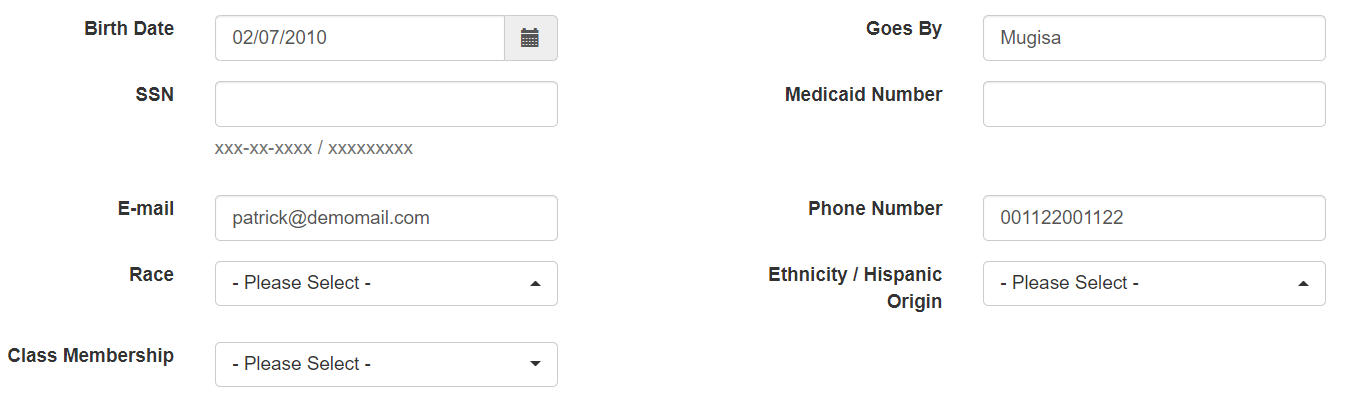
- “Goes By” is also optional and can be entered if an individual has multiple names and you want to make it clear what name they go by. You can also enter a nickname here.
- Skip SSN, and Medicaid Number as they are US-only fields.
- Email and Phone Numbers are optional fields; if you have this information you can enter those.
- Race, Ethnicity/Hispanic Origin & Class Memberships fields are optional.
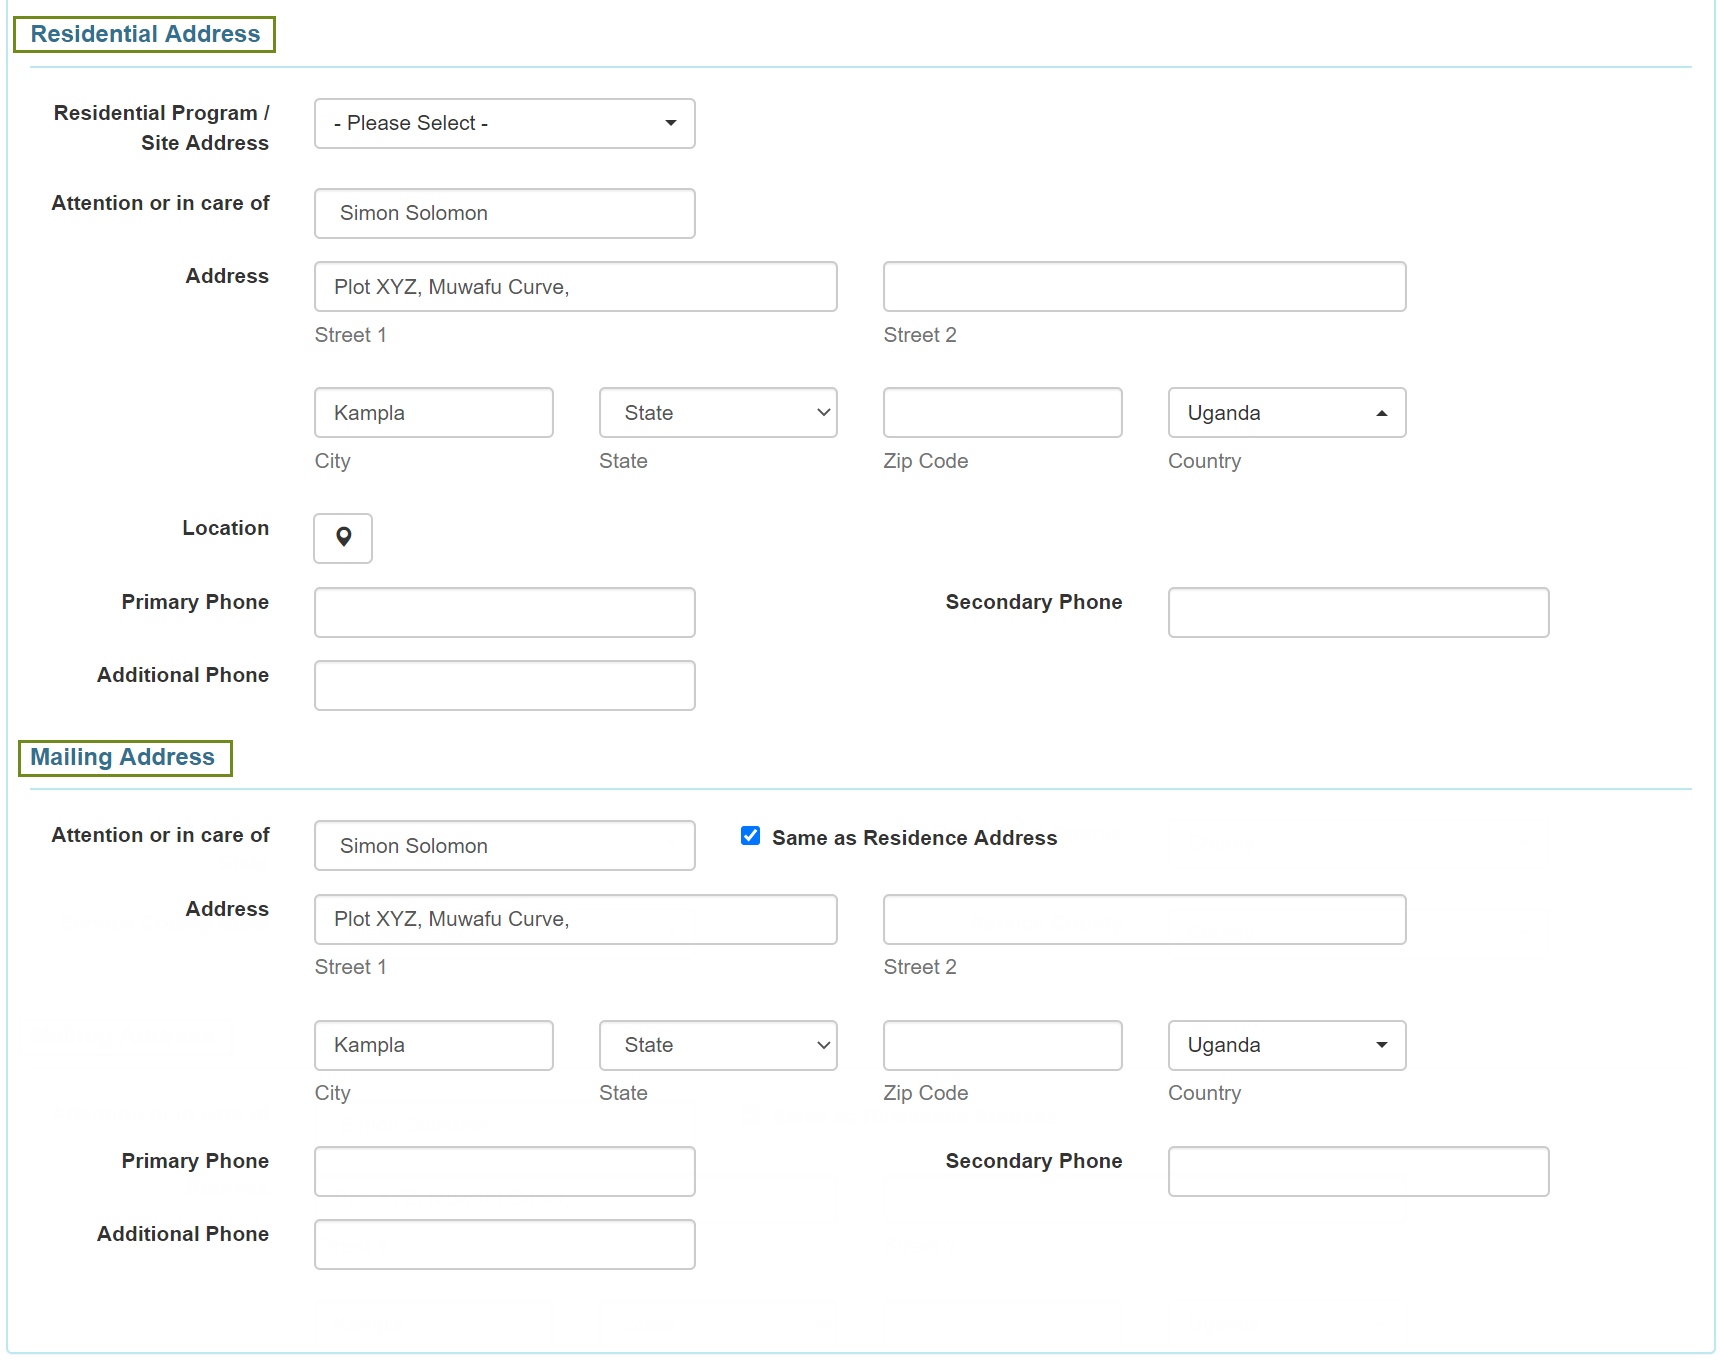
- Fields in Residential Address and Mailing Address sections are optional. You may enter information in those if required by your agency.
4. After entering necessary information, click on the Save button at the bottom of the page.

Once saved, a success message will be presented. Under the success message there will be a link to open the IDF and links for opening the form in PDF format.
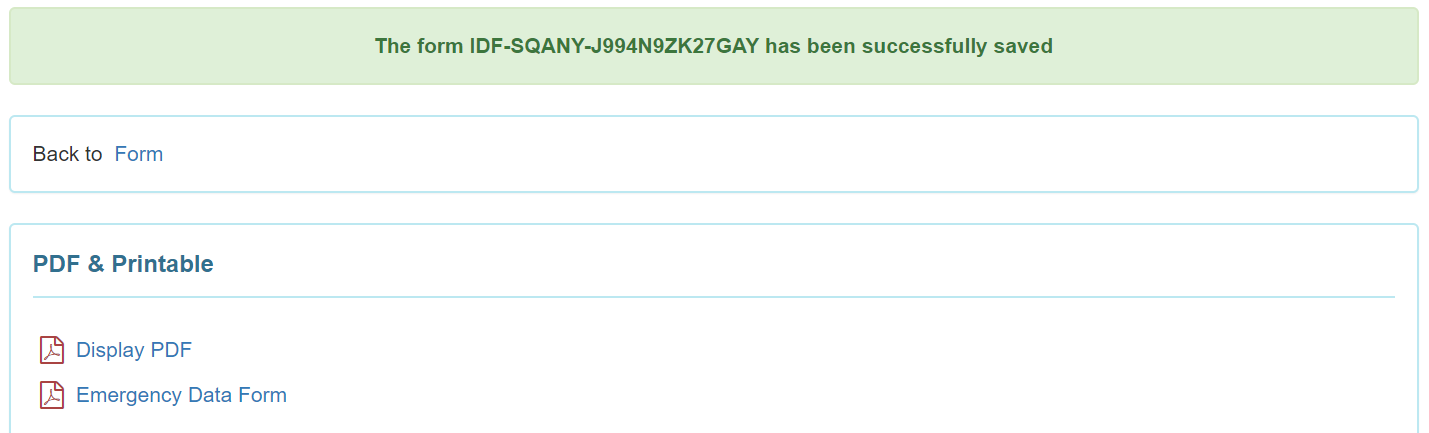
5. Click on the Form link to open the Individual Demographic Form.

The Individual Demographic Form (IDF) will have Pending Admission status.

Admitting Individuals into Therap System
[Back to Top]
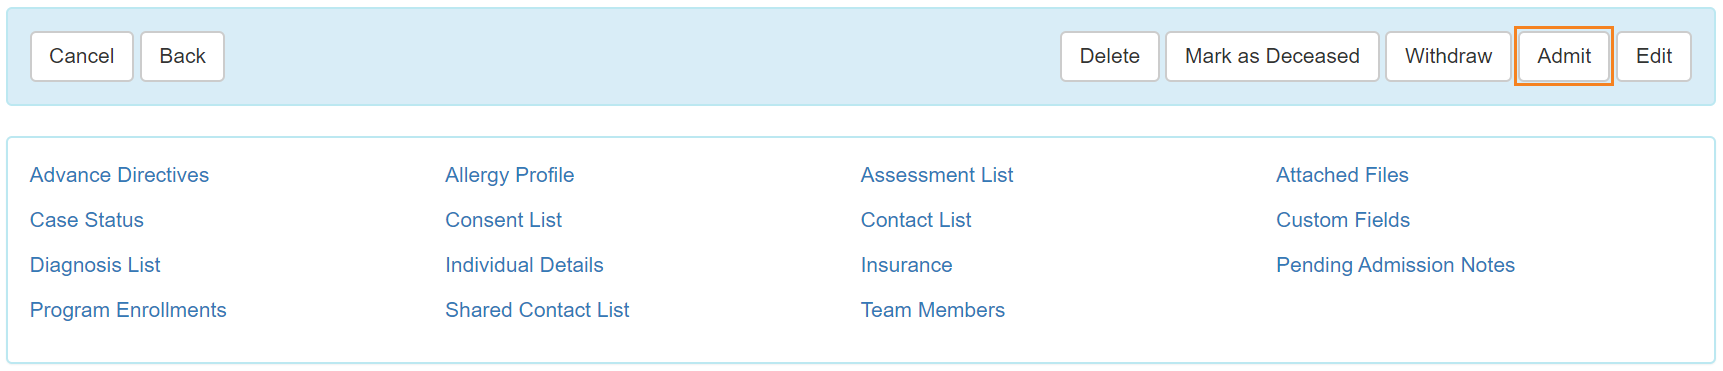
1. Scroll all the way to the bottom of the IDF and click on the Admit button.
2. On the next page, select the Admission Date in which the individual is/was admitted.
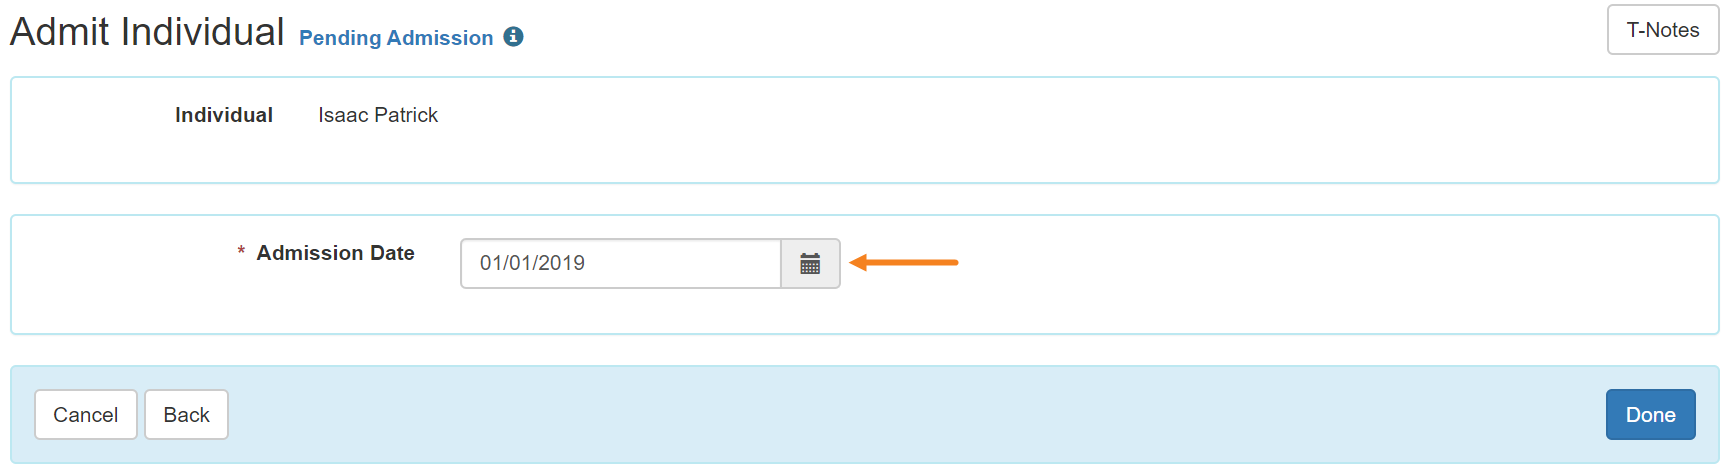
3. After selecting the date, click on the Done button.
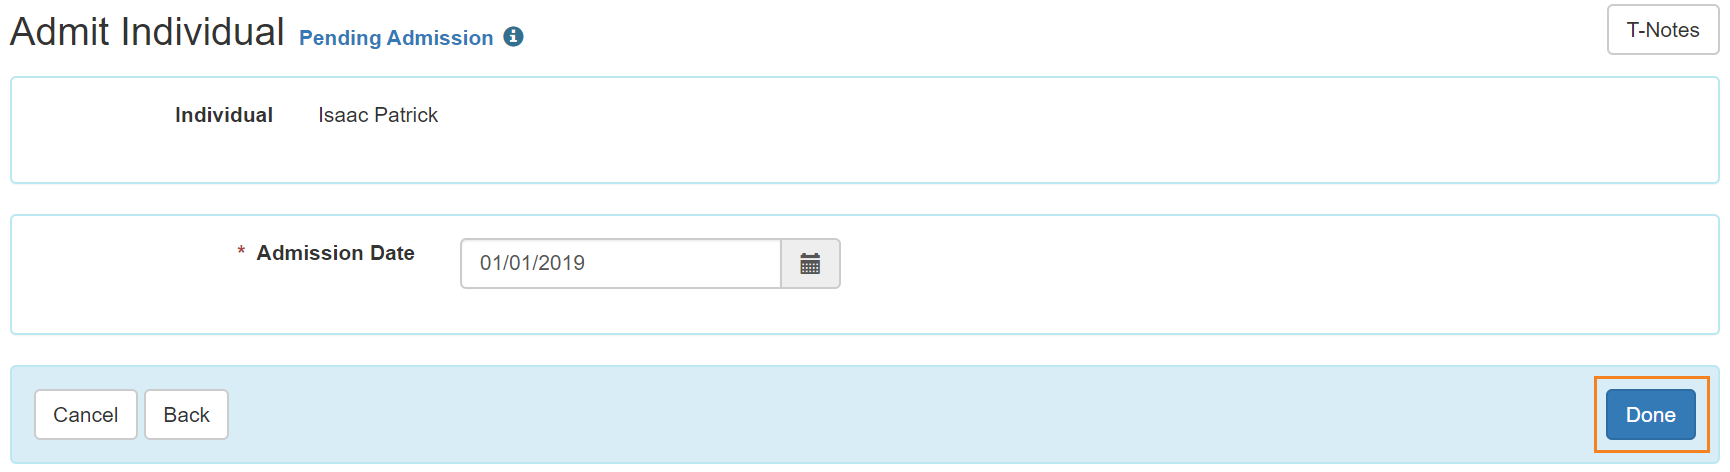
Once done, a success message will be shown.

4. Clicking on the Form link will open the Individual Demographic Form showing Admitted status.


Enrolling Individuals into Program(s)
[Back to Top]
Enrolling individuals in at least one program is necessary to perform the majority of documentation within Therap.
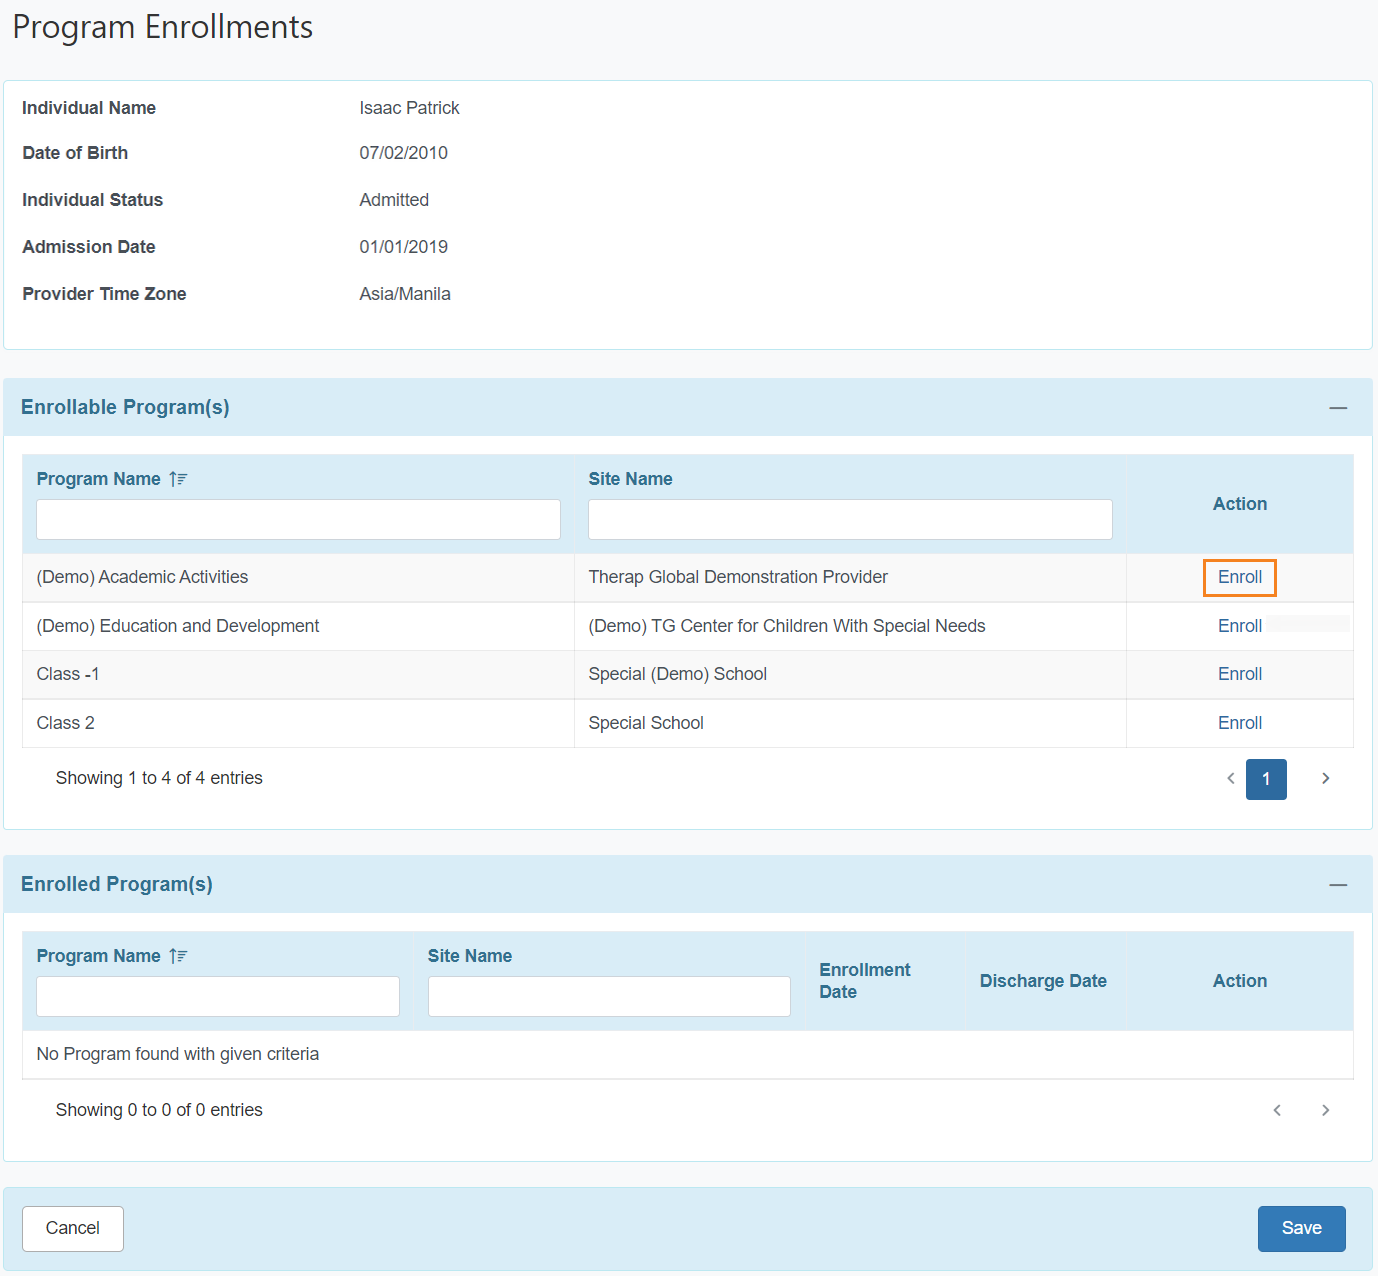
1. Scroll down on all the way to the bottom of the IDF page and click on the Program Enrollments link

2. The Program Enrollment page will be opened showing a list of Enrollable Program(s) for the Individual. Click on the Enroll link of the preferred program.
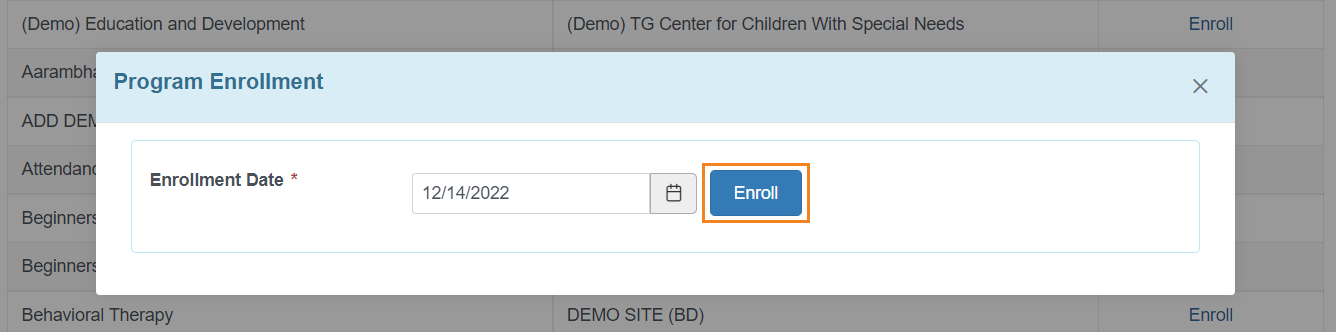
A pop up box titled as Enrollment Date will be opened. The current date will be found as pre-selected.
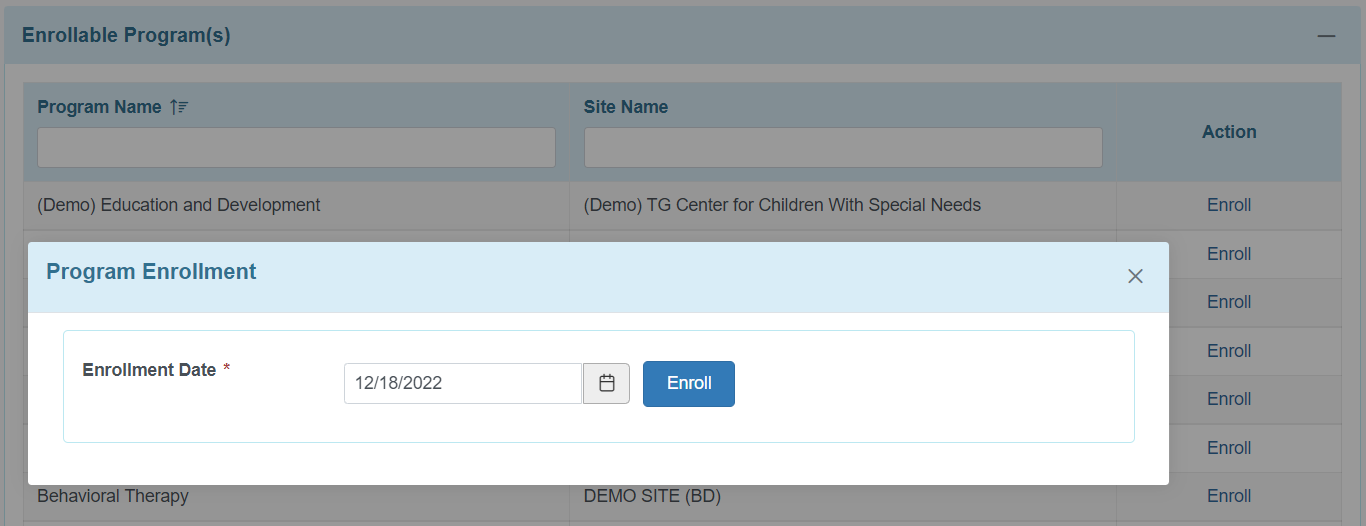
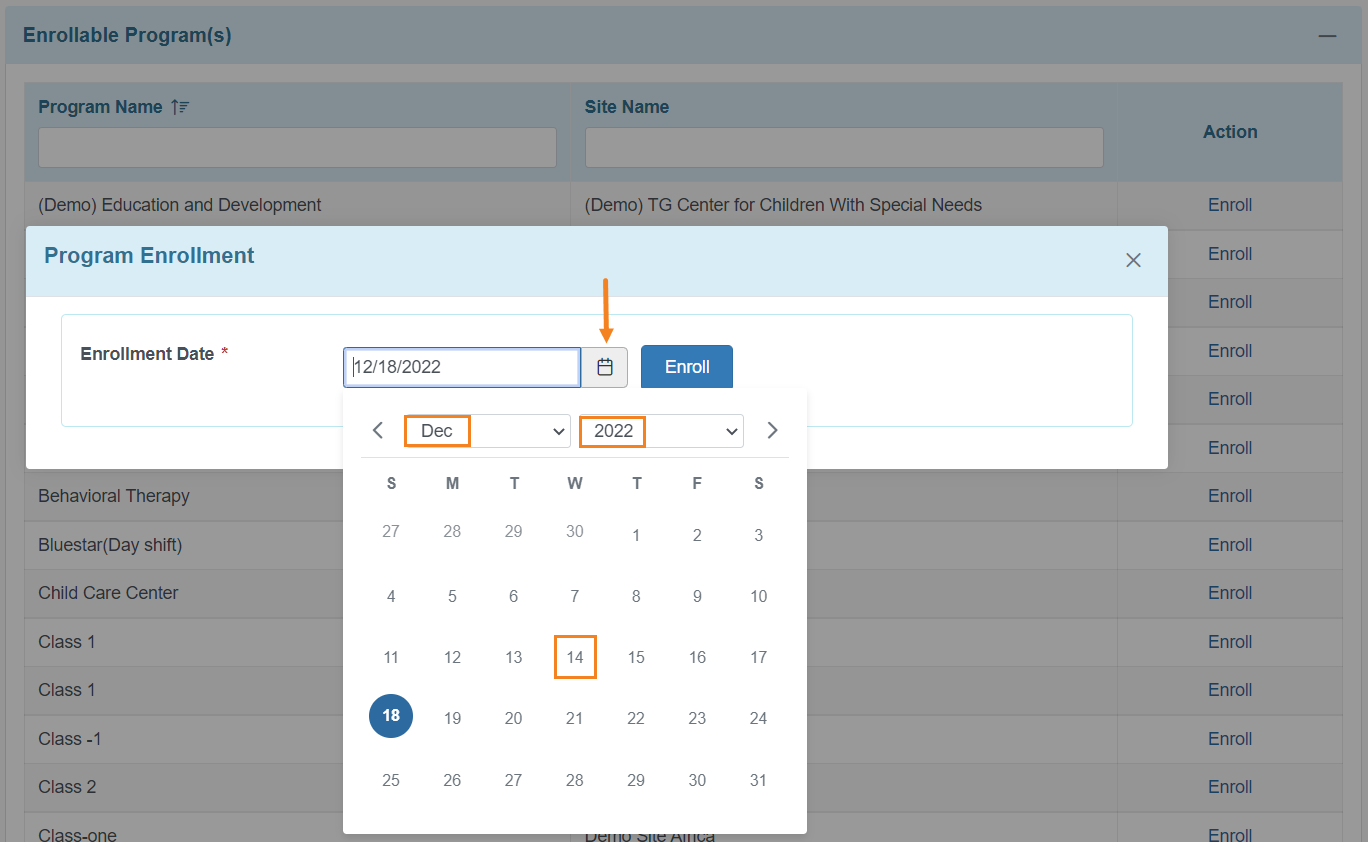
3. Select the actual Enrollment date from the calendar app by clicking on the calendar icon and selecting the correct date. If you do not know the actual date they were enrolled then you can use today’s date. You are able to go back and update the date of enrollment if you want to change it later.
4. Click on the Enroll button.
The name of the selected program will be shown in the Enrolled Program(s) section at the bottom of the page.
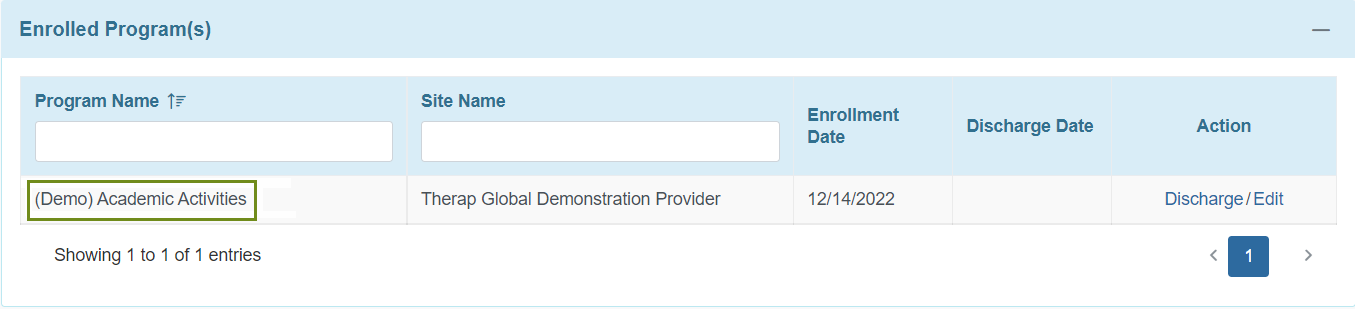
Note: Individuals can be enrolled in multiple programs. To enroll an individual in additional programs repeats steps 2 through 4 for each program as needed.
5. Click on the Save button at the bottom of the page to save program enrollment related information.
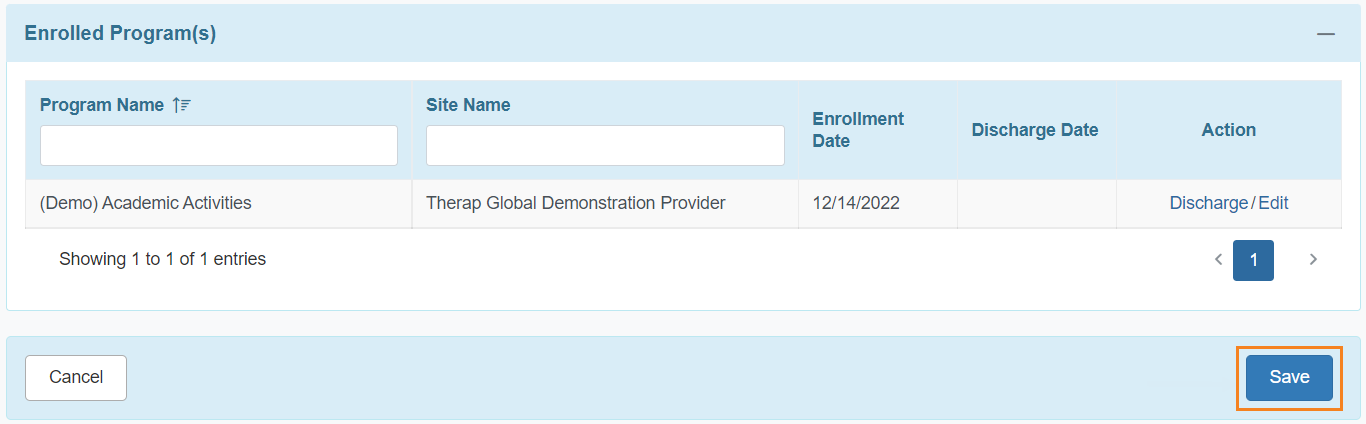
The Individual Demographic Form (IDF) of the individual will be opened. You can update information in the IDF according to your needs.